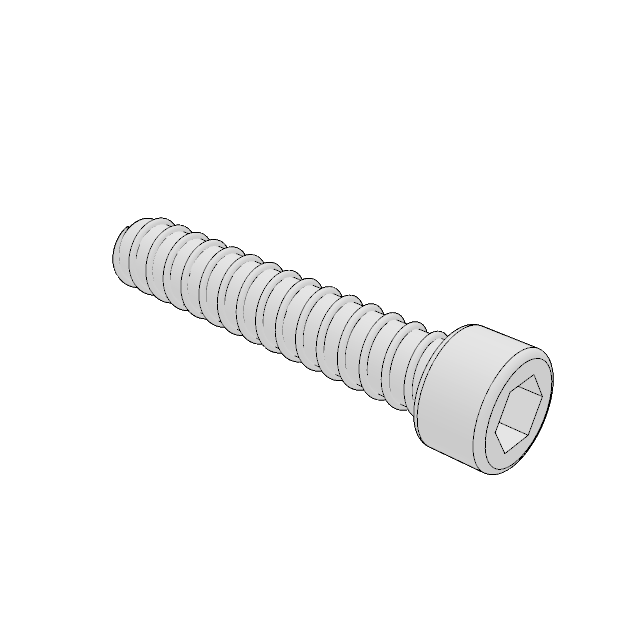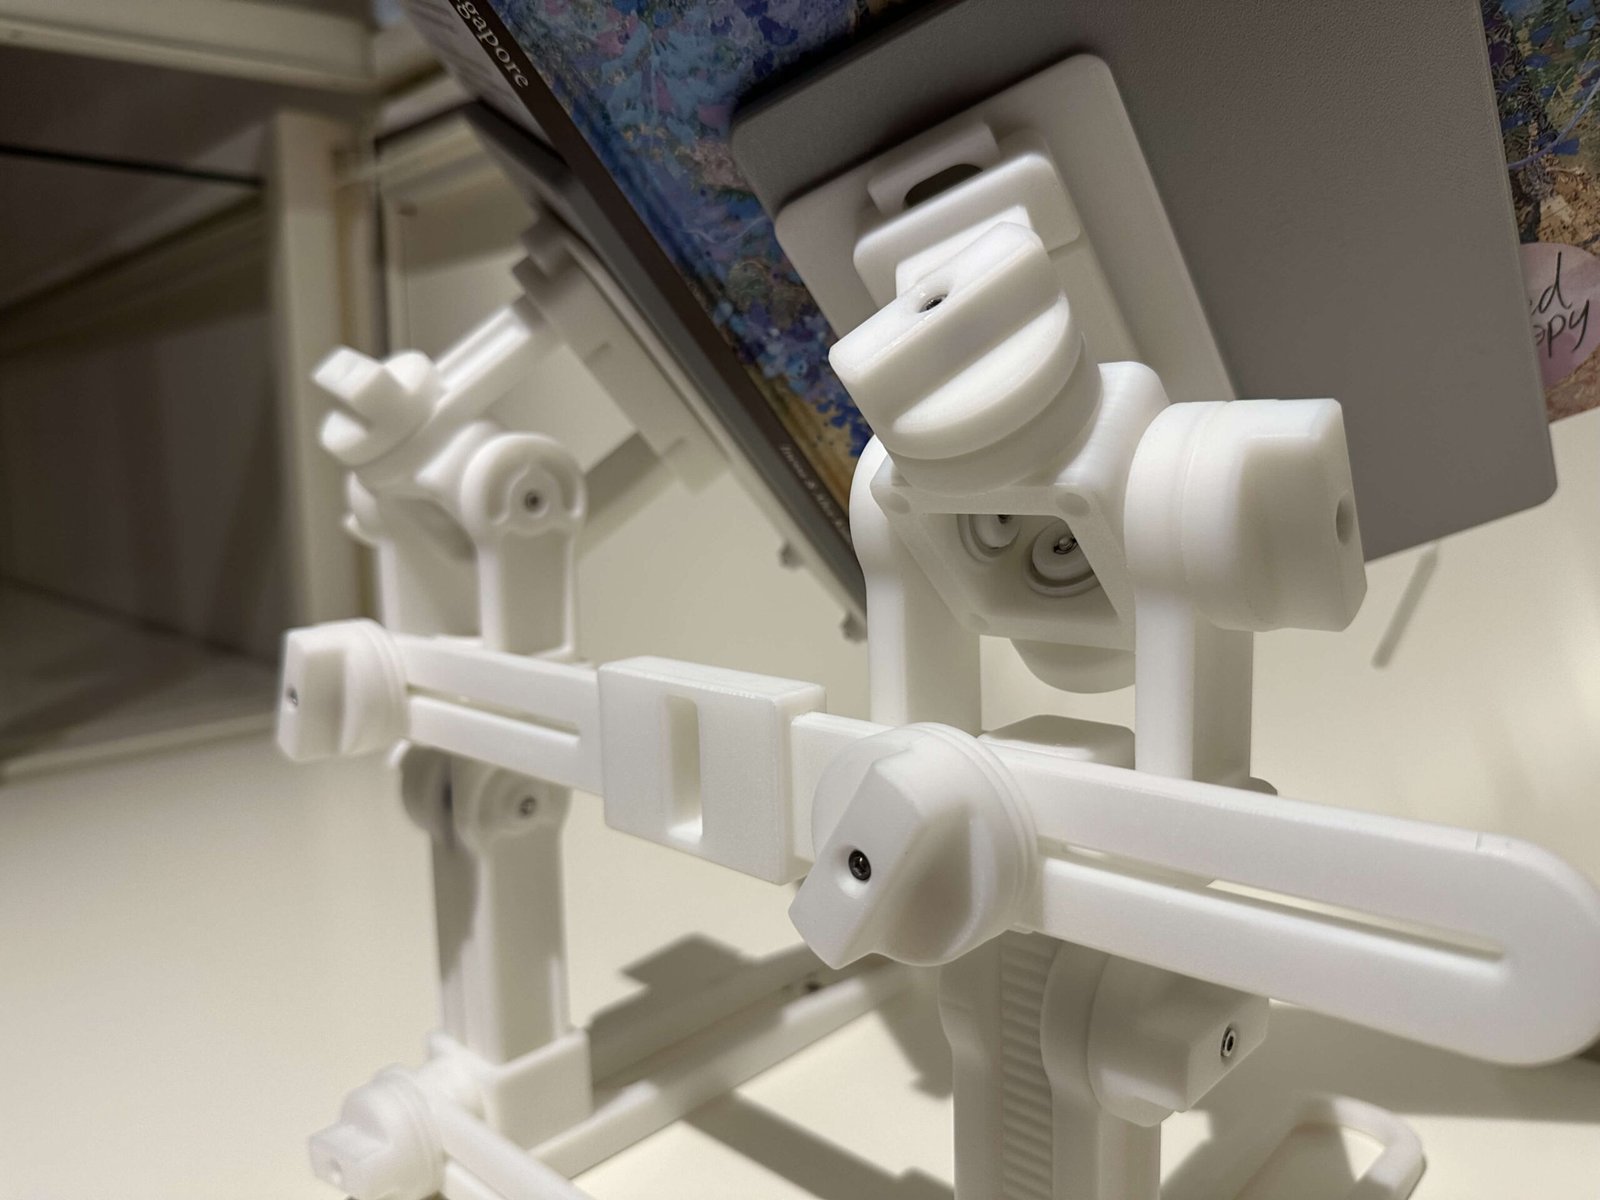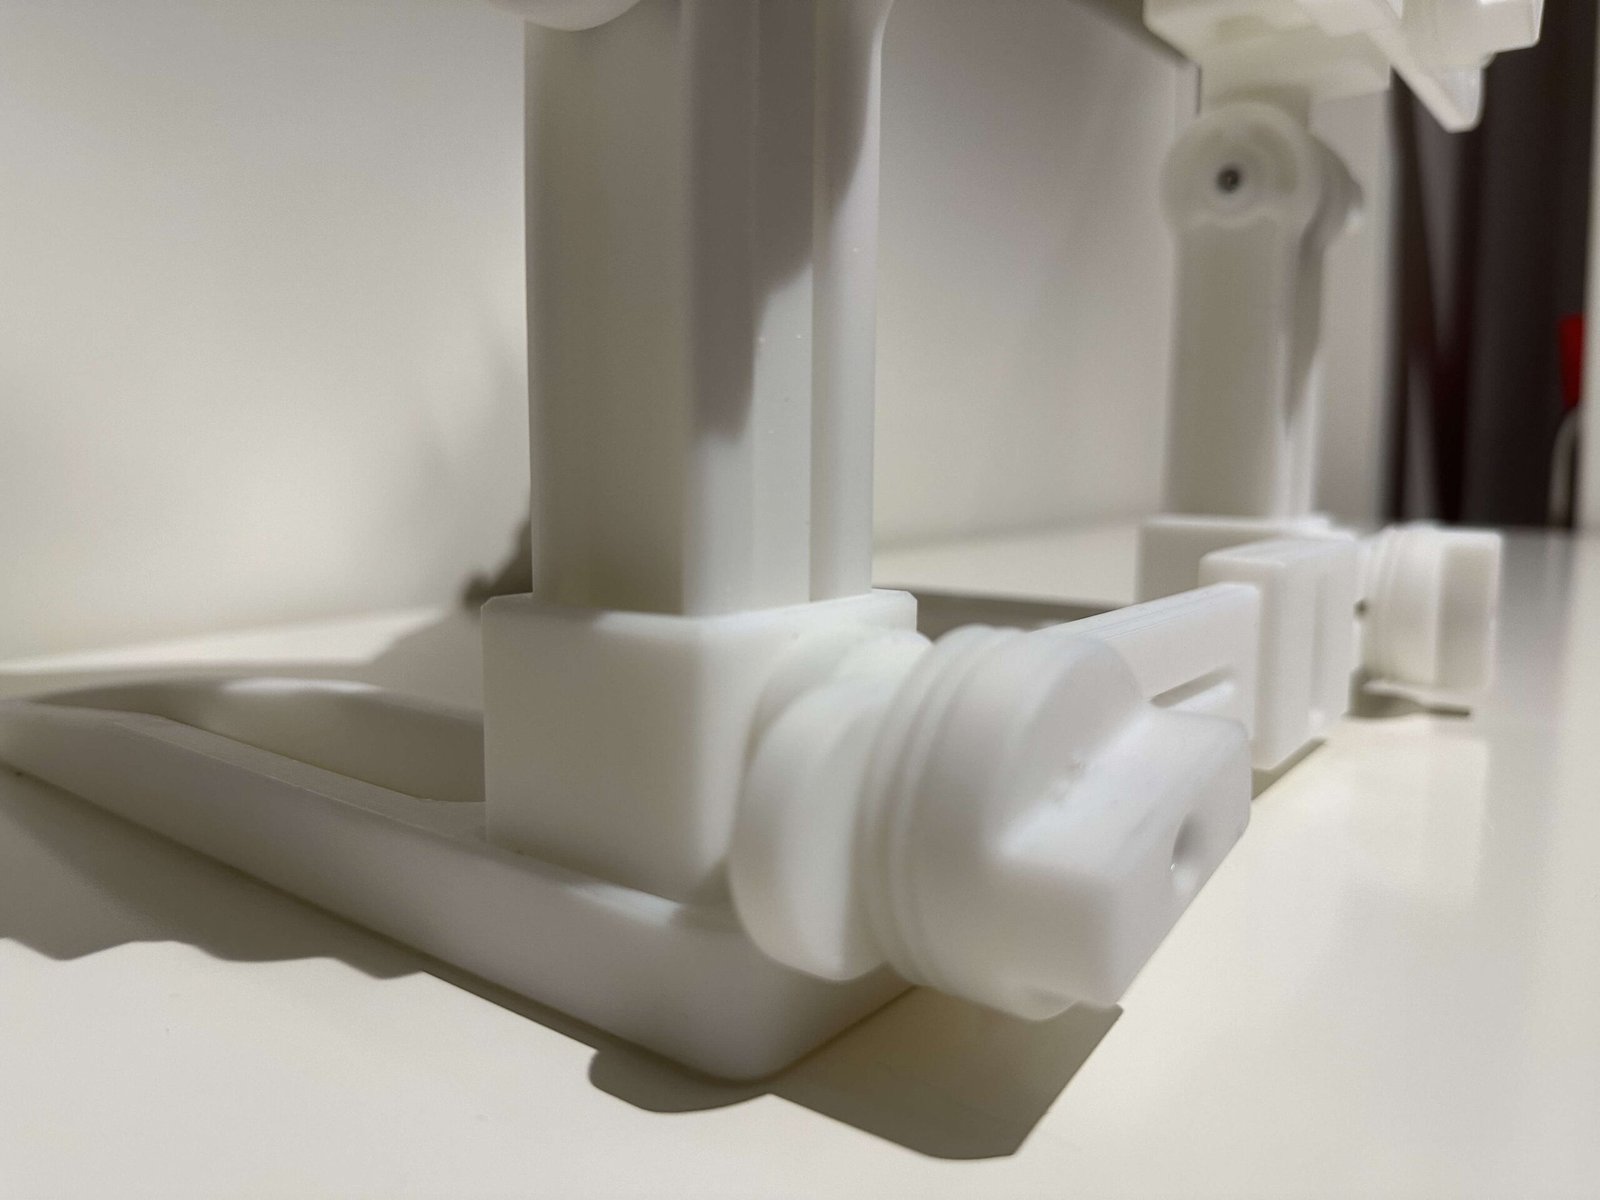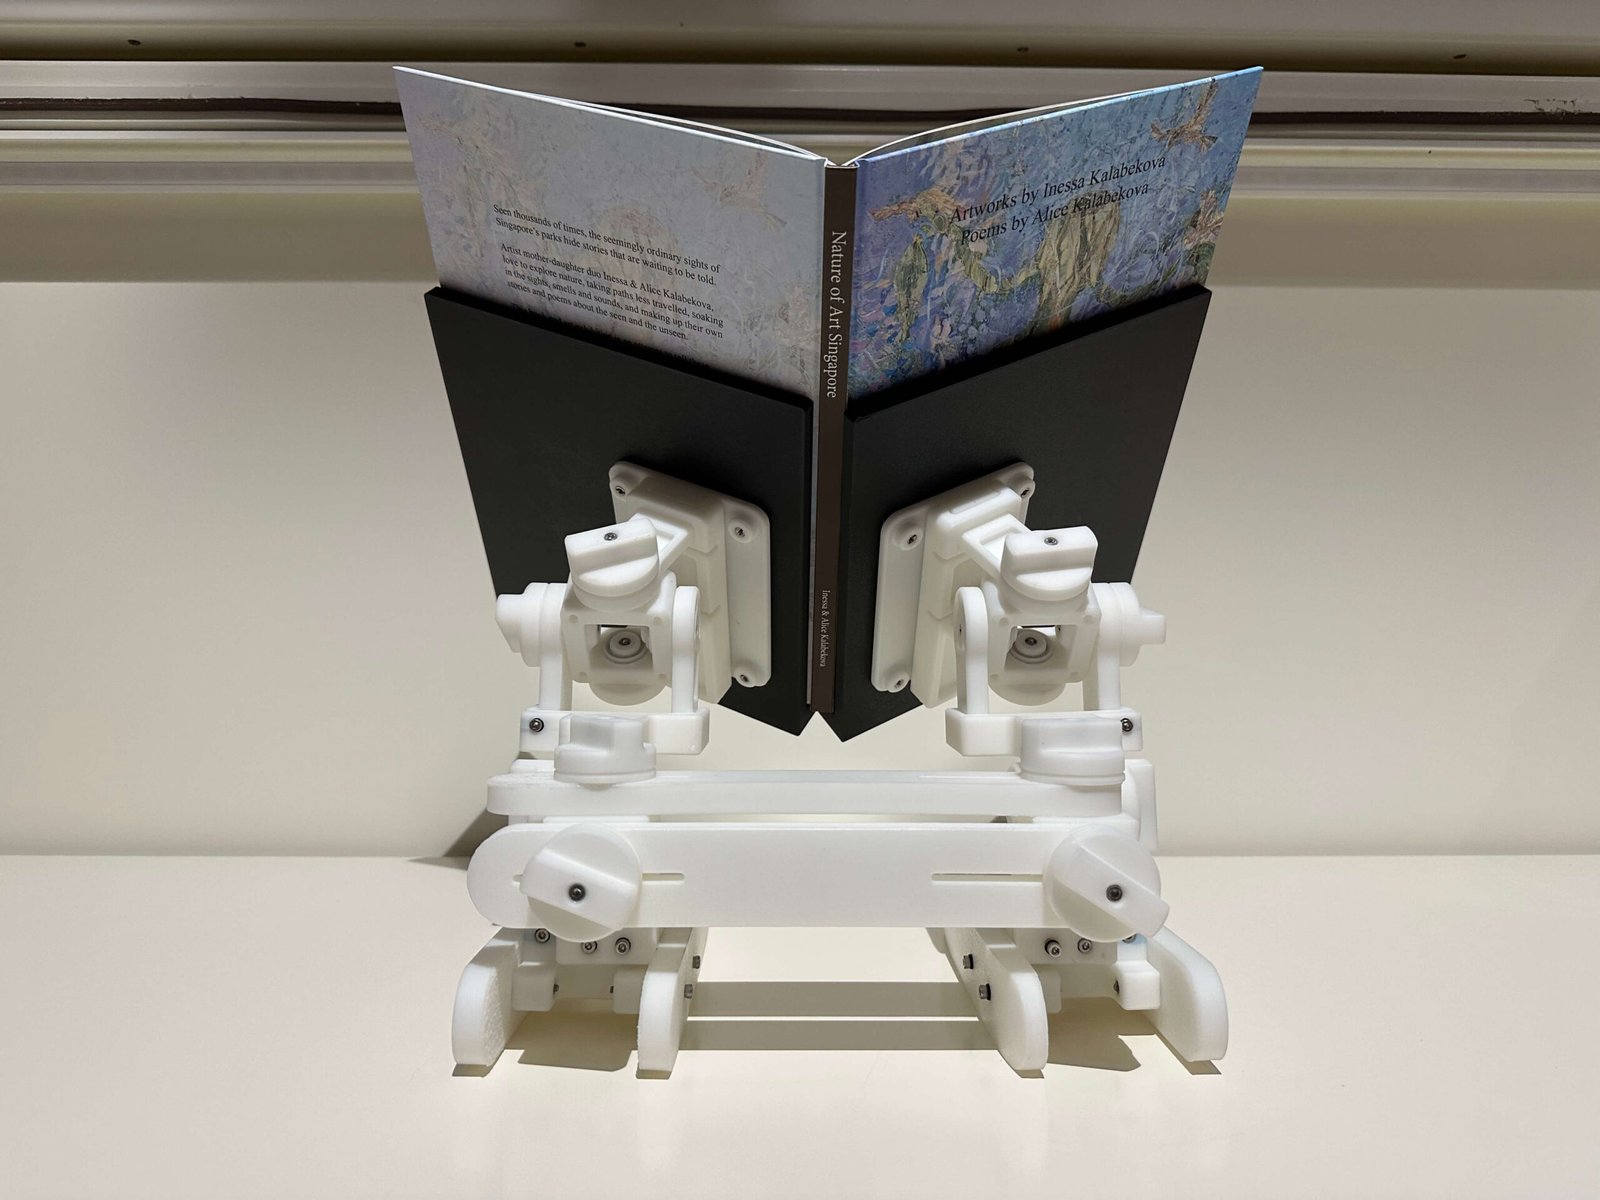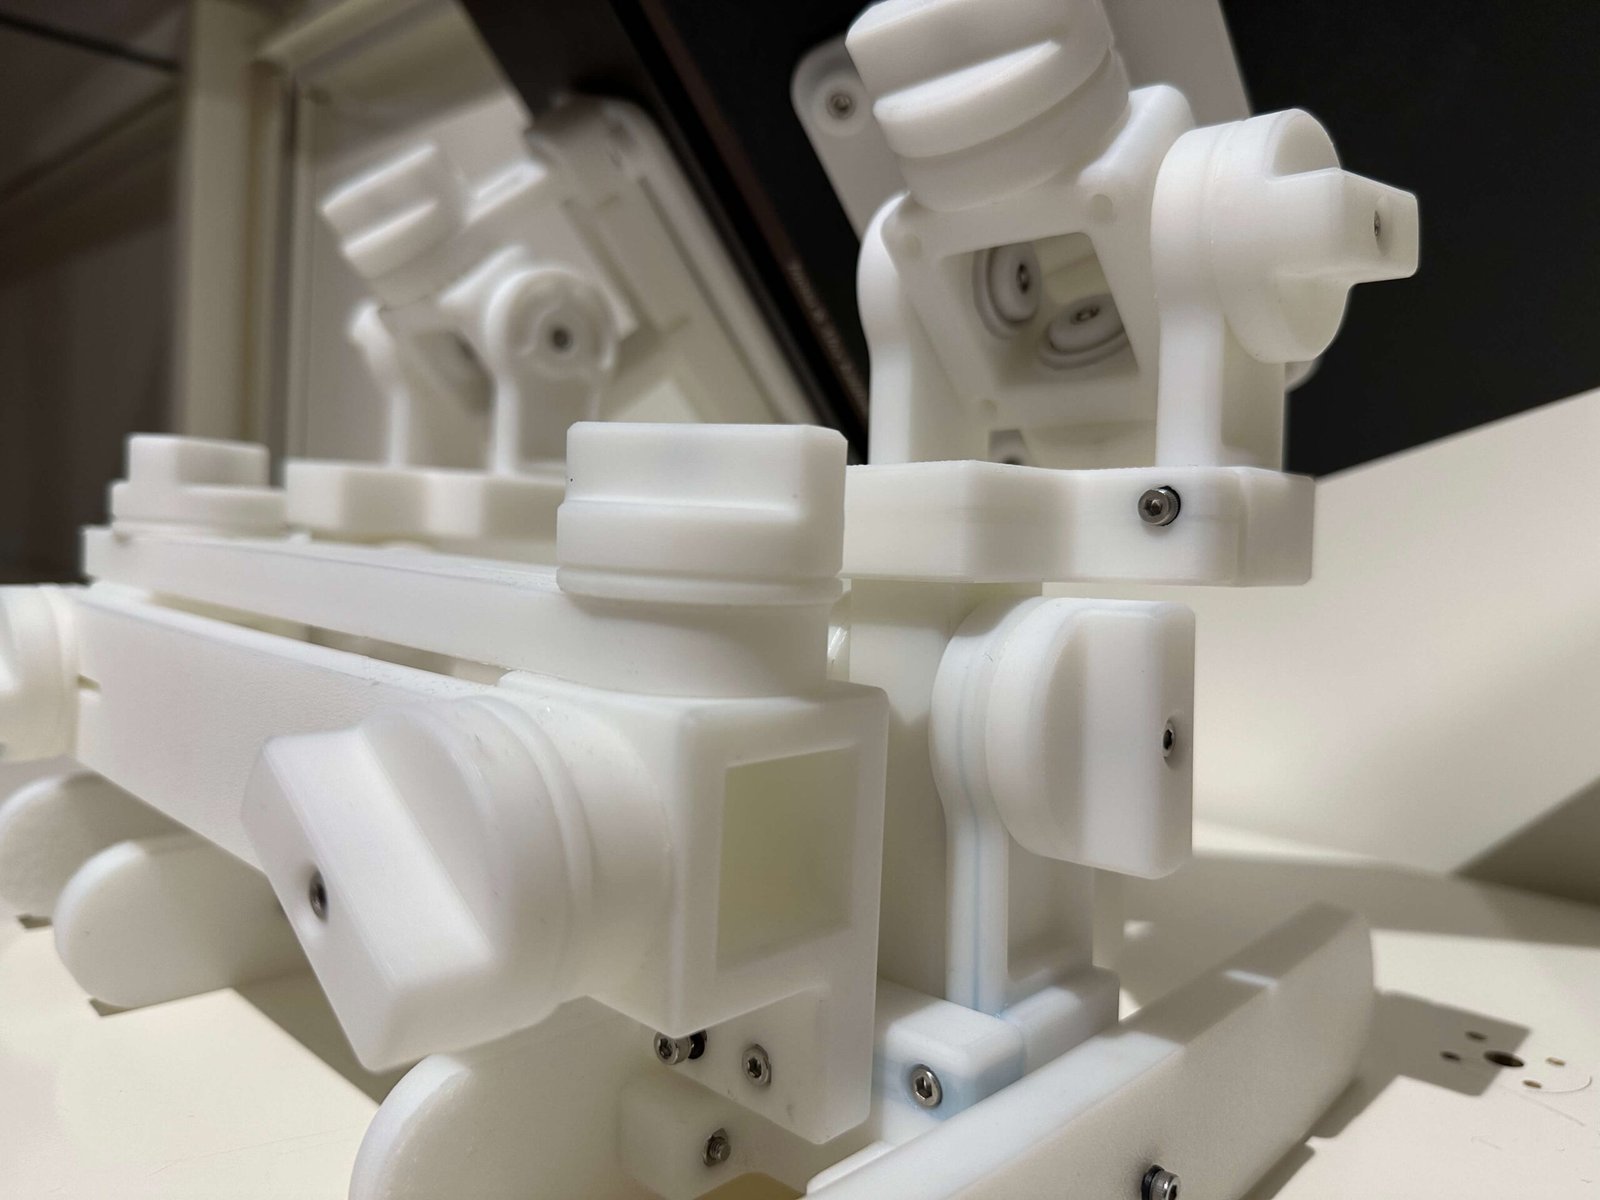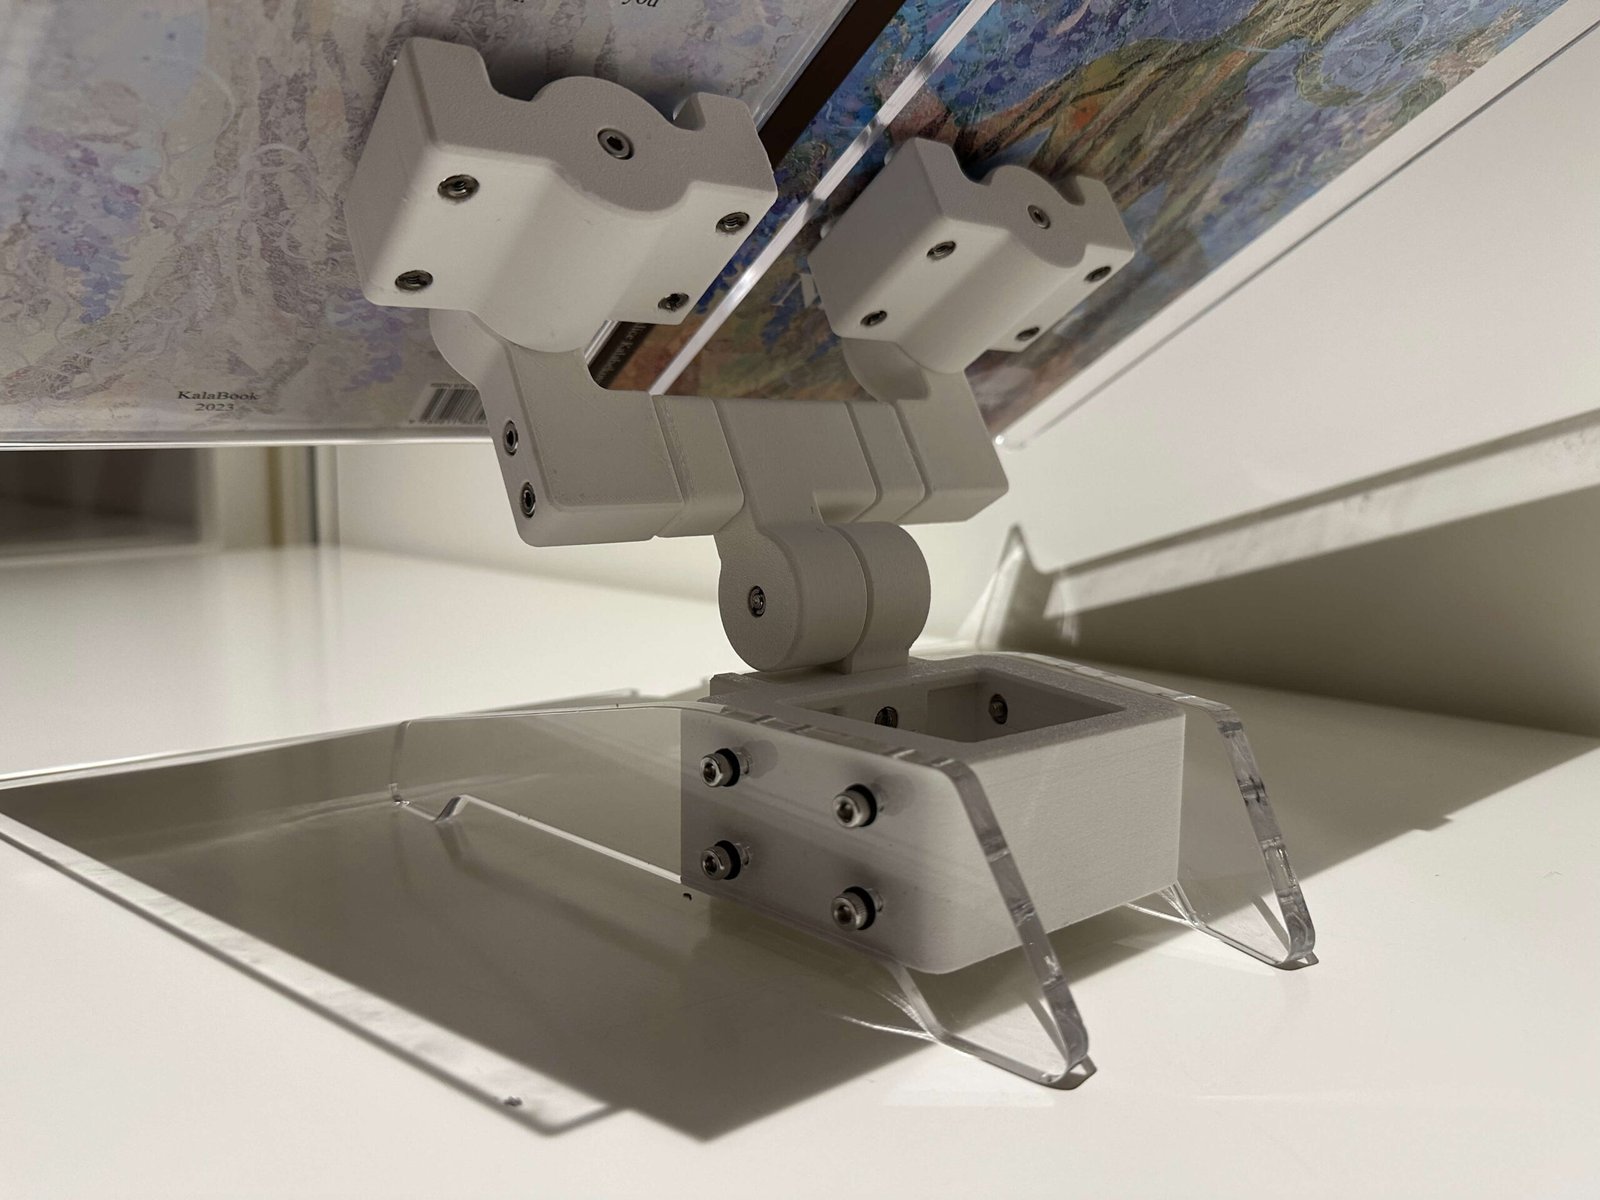


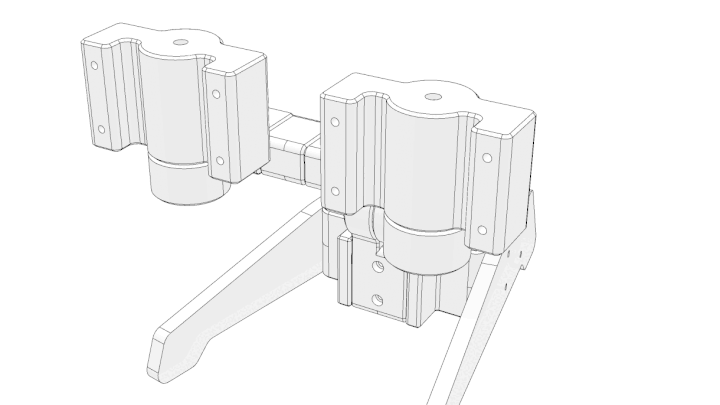
Tightening & Loosening Knob
The knobs tighten when turned clockwise and loosen when turned counterclockwise. Additionally, all knobs are identical in size and function uniformly across the design, ensuring users can interact with them consistently.
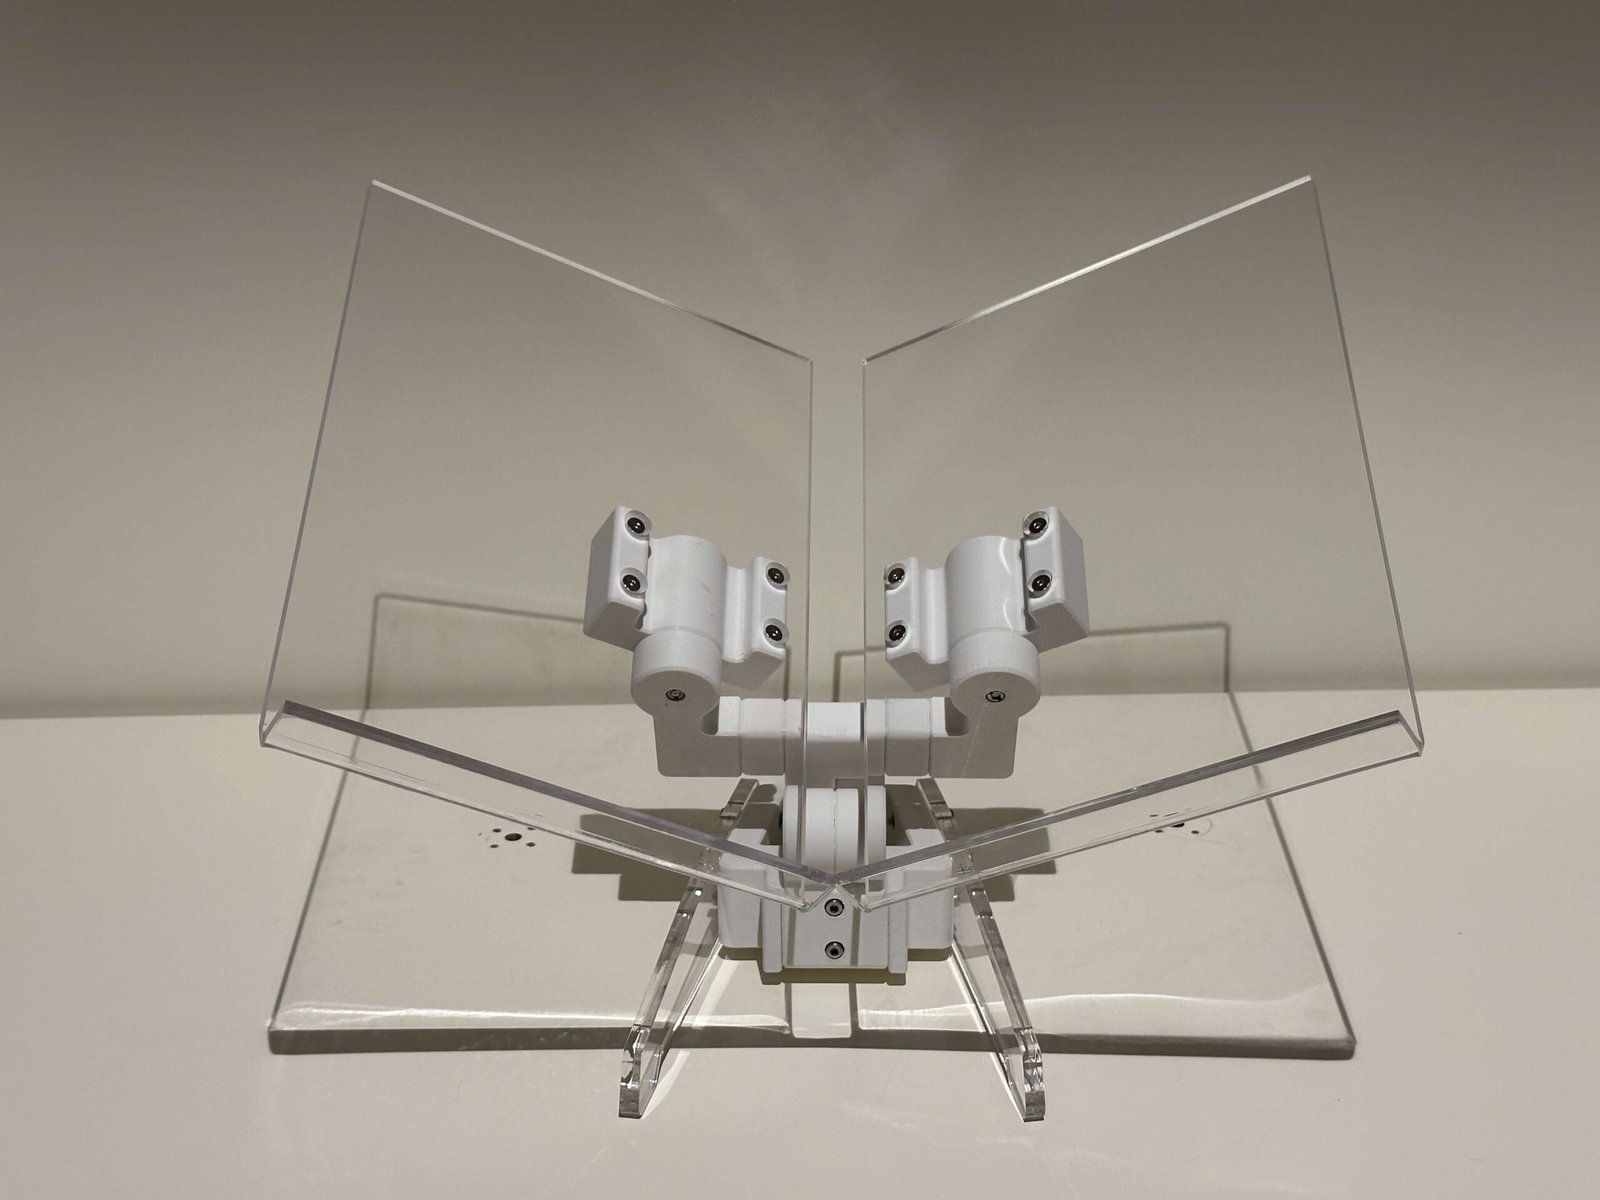
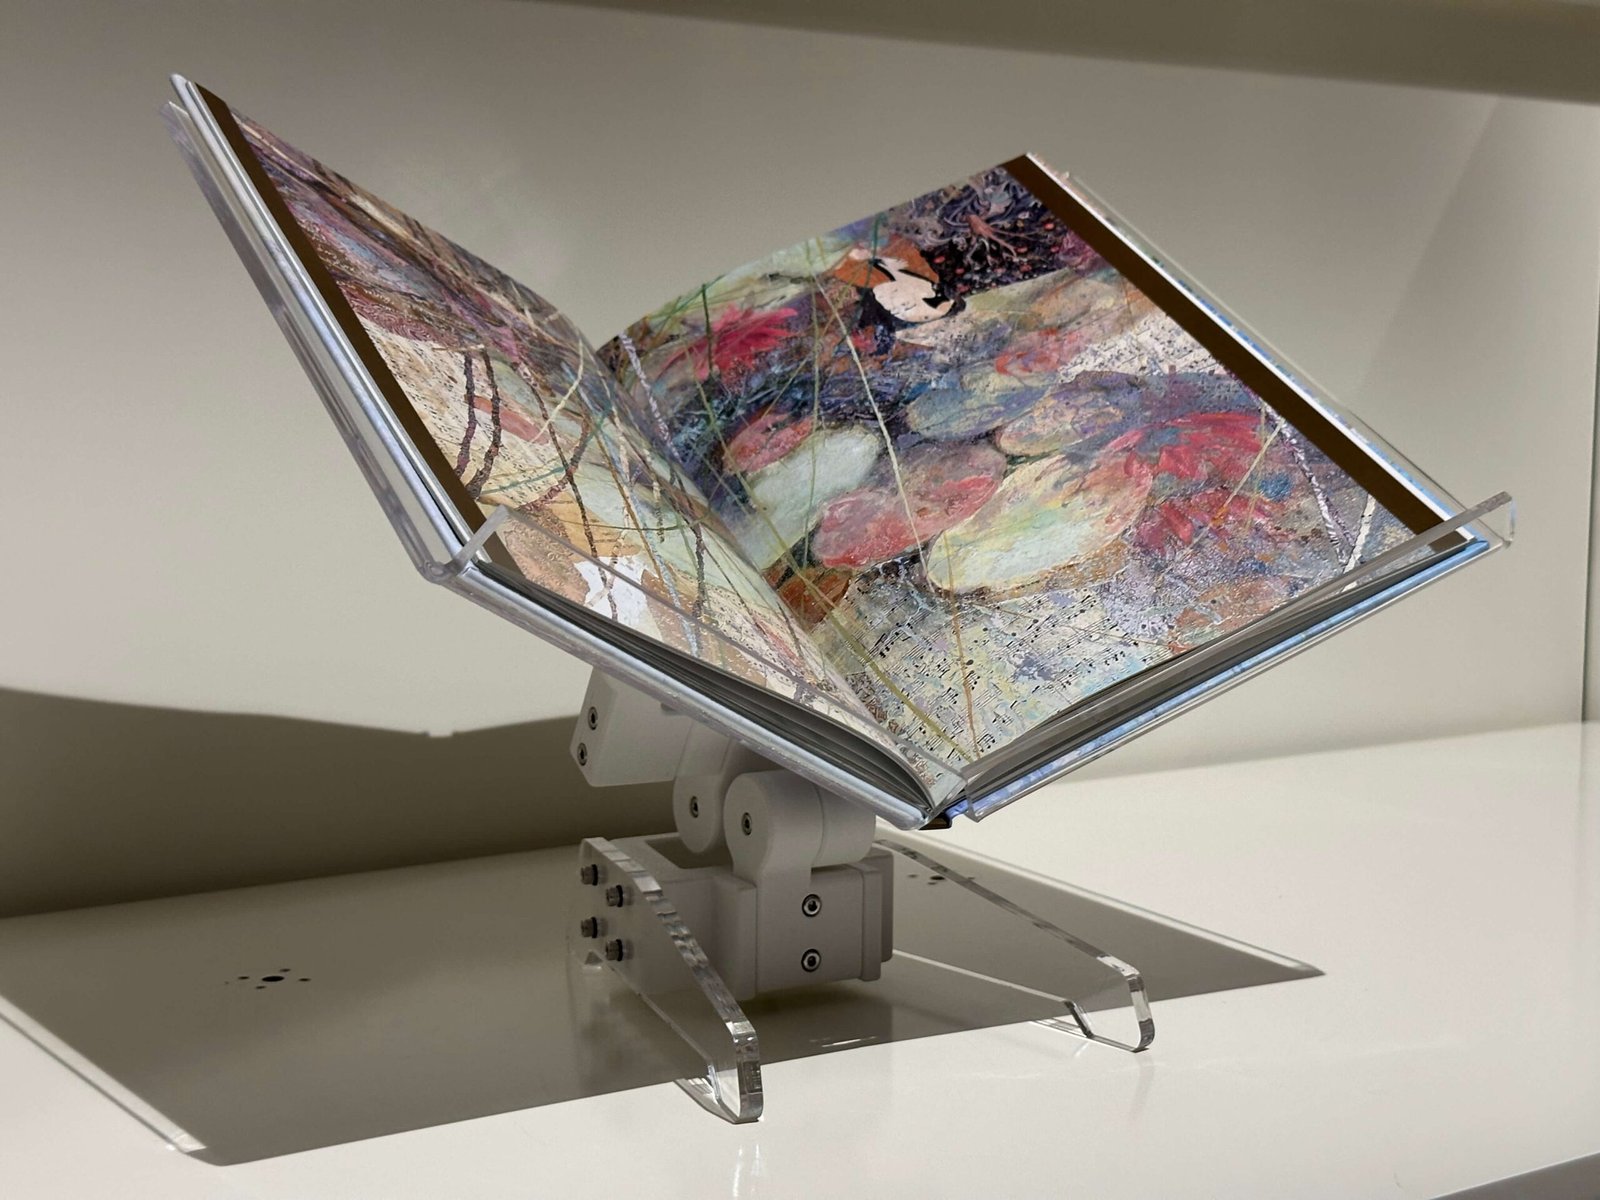
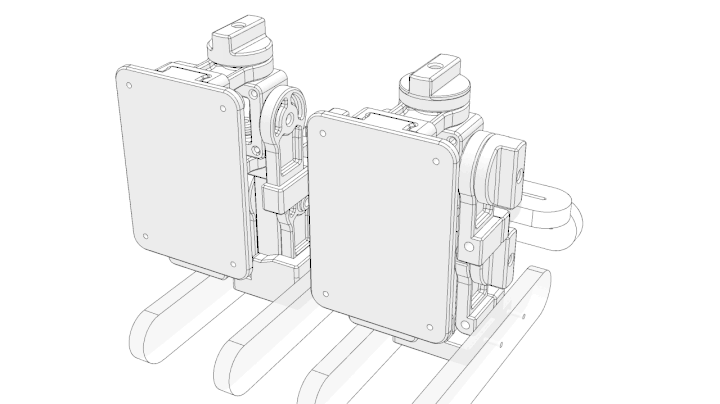
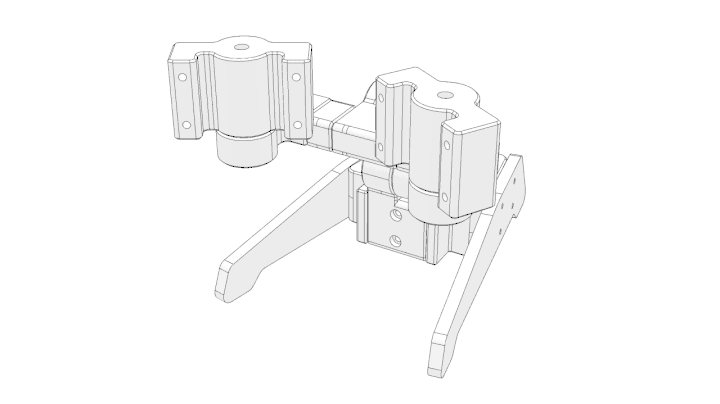
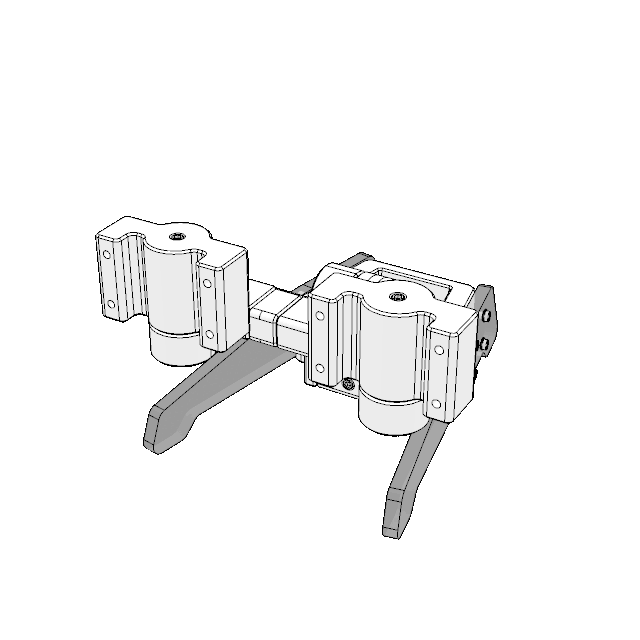
 Swivel Mechanism One
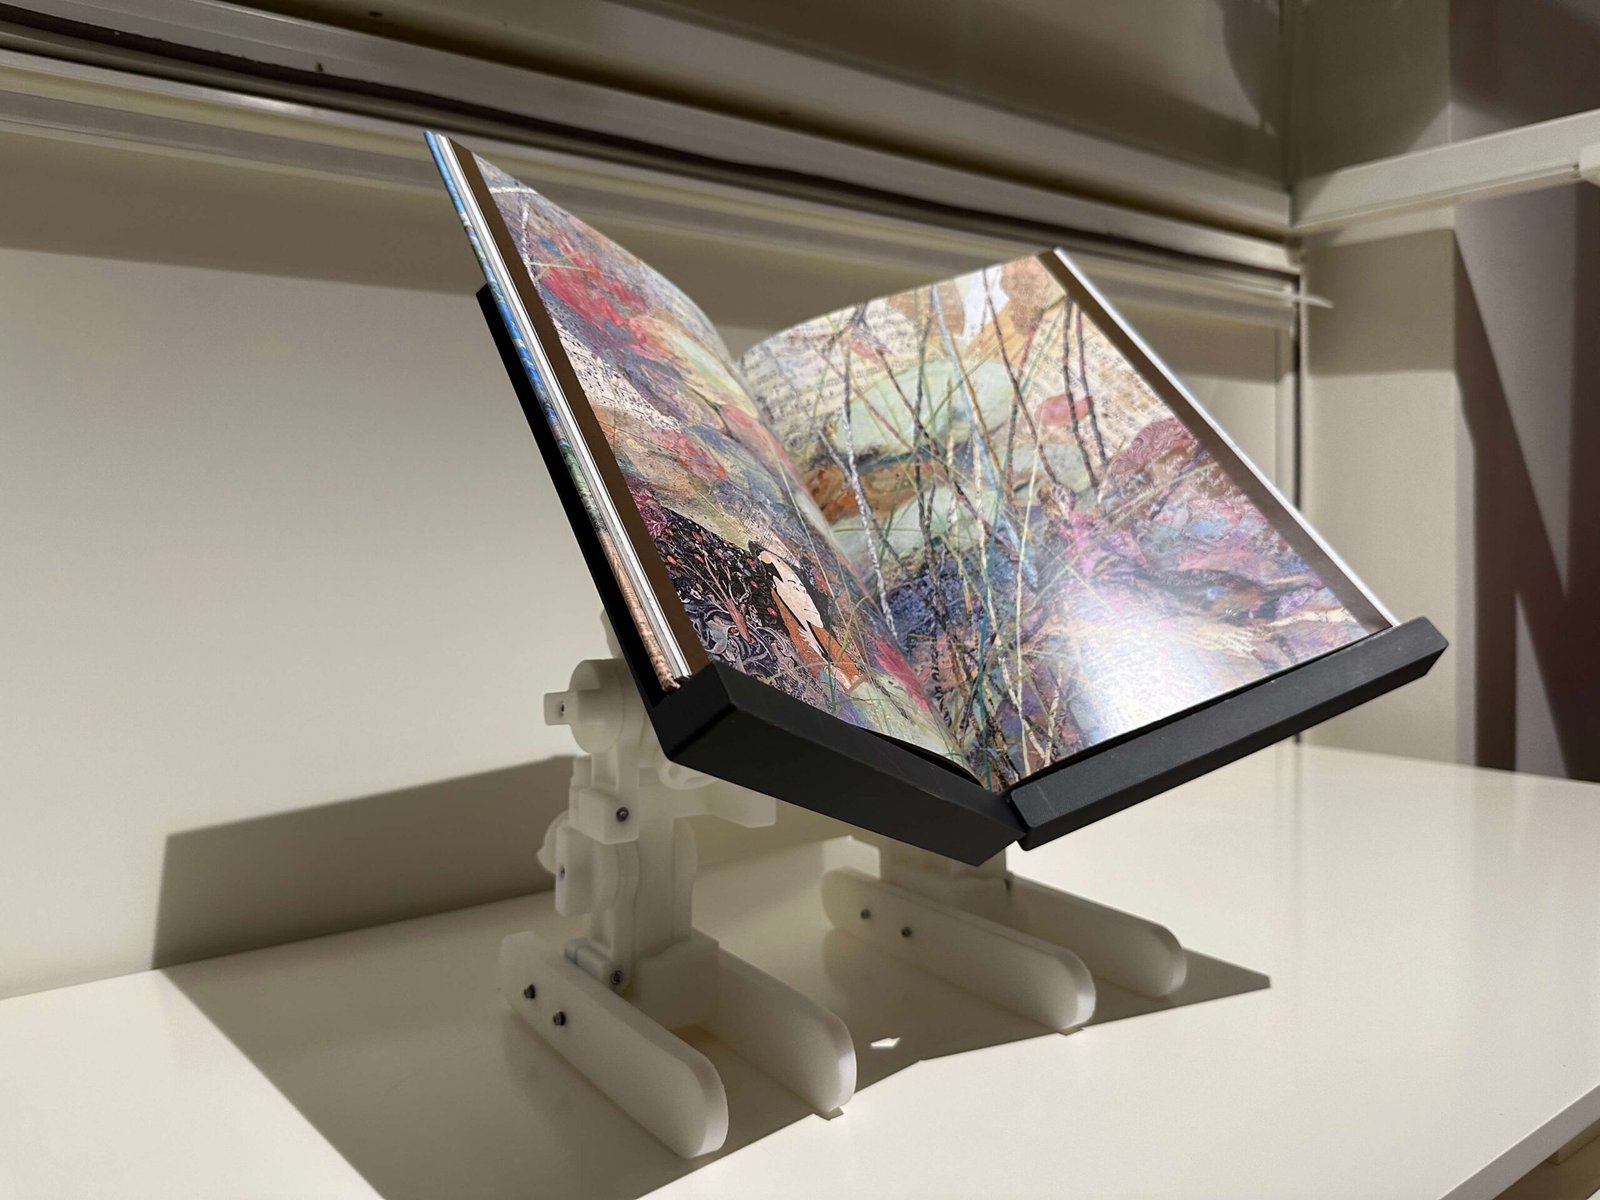
This swivel mechanism controls the tilt of the book, enabling users to adjust its angle for a more comfortable reading position. By modifying the tilt, users can also minimize glare, improve visibility, and achieve the most ergonomic viewing angle.
 Swivel Mechanism Two
This axis controls the angle at which the books are held, allowing users to adjust the position for optimal visibility and comfort. By adjusting this axis, users can set the book at the most convenient angle for reading or viewing.
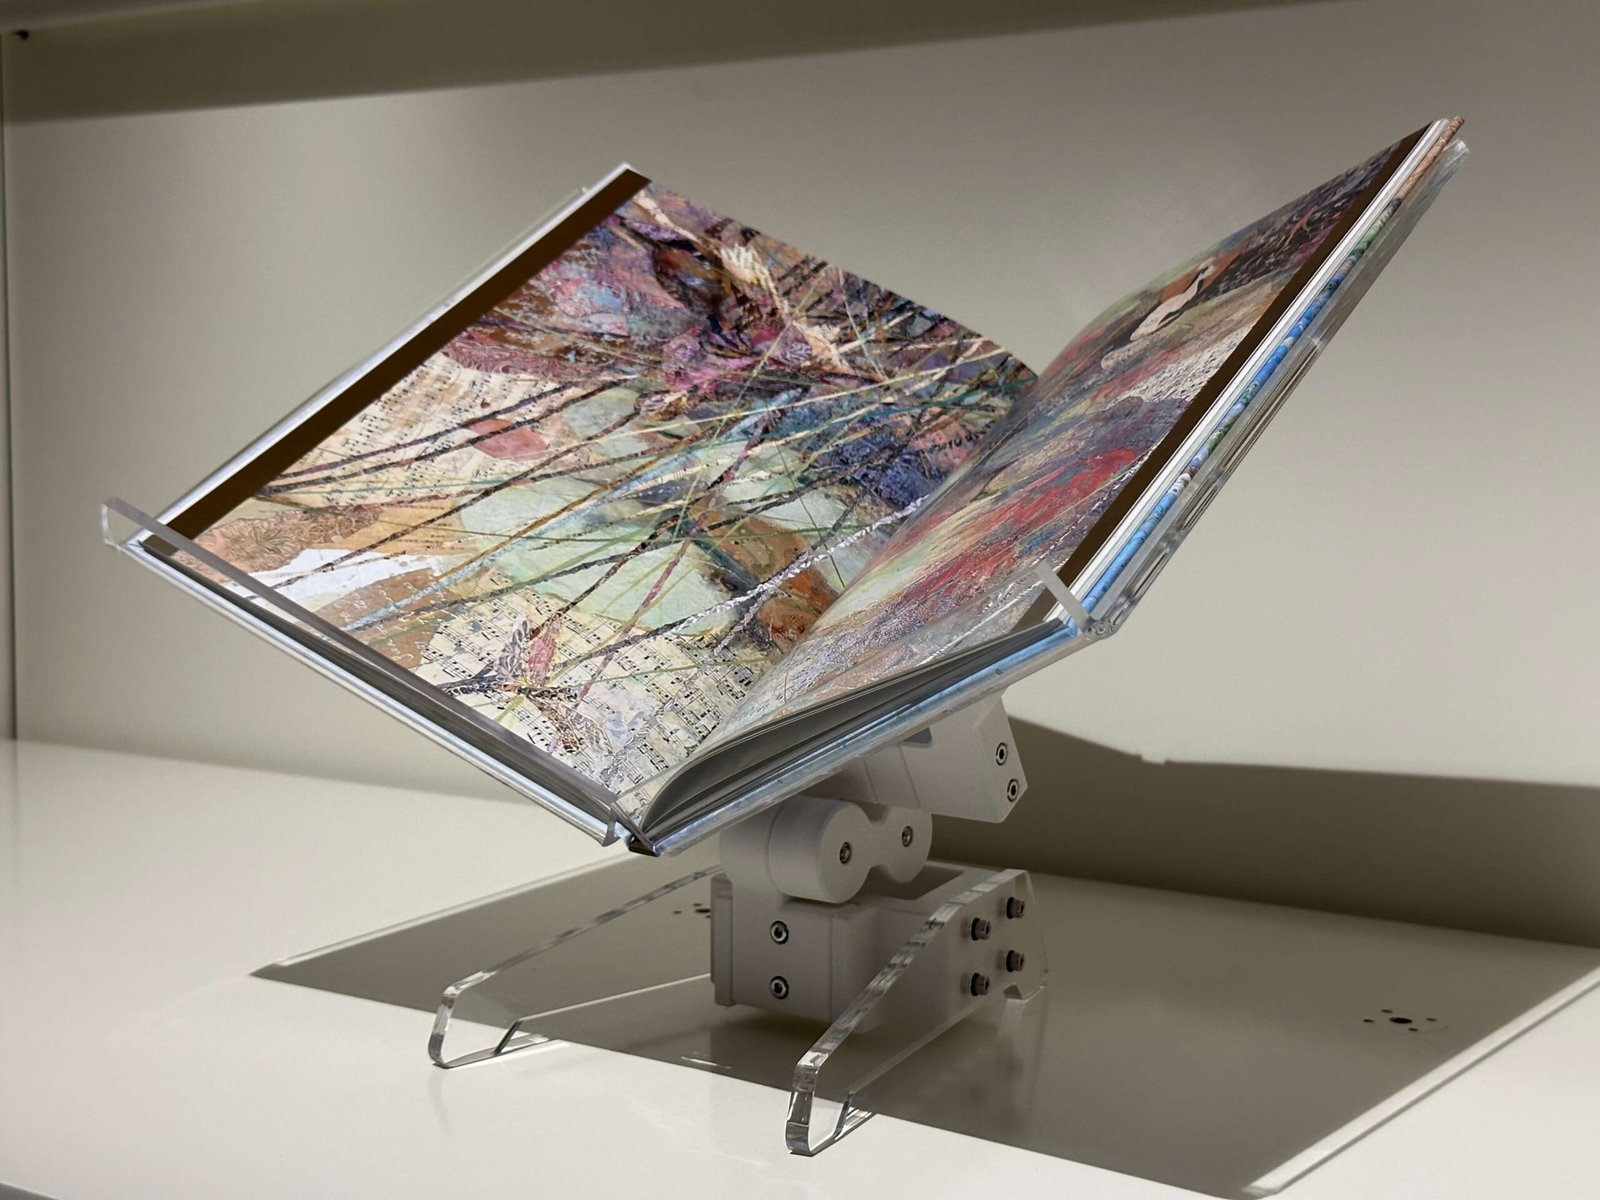
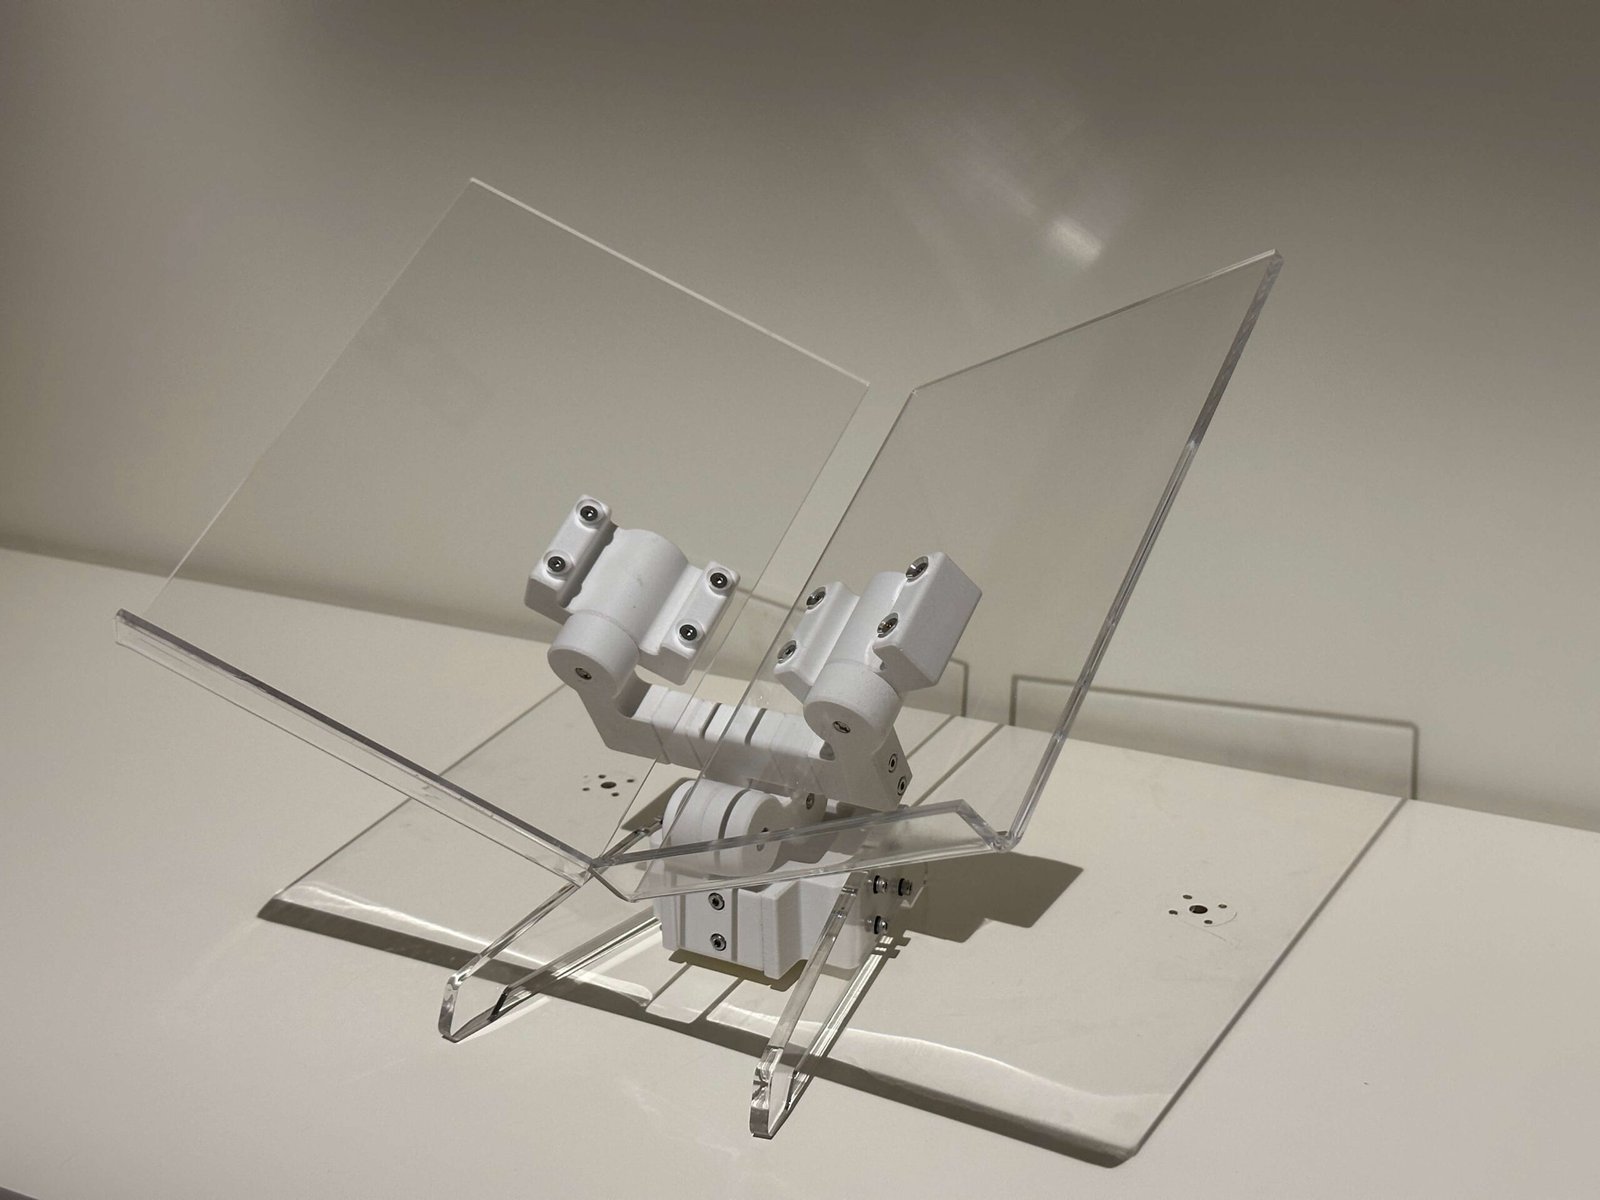
 Variable Height Mechanism
This swivel mechanism controls the height at which the bookstand can be raised, allowing for easy customization to suit the user’s preference. To adjust the height, users simply need to loosen and tighten the knobs located beside the mechanism, ensuring a secure and stable position to a desired height.
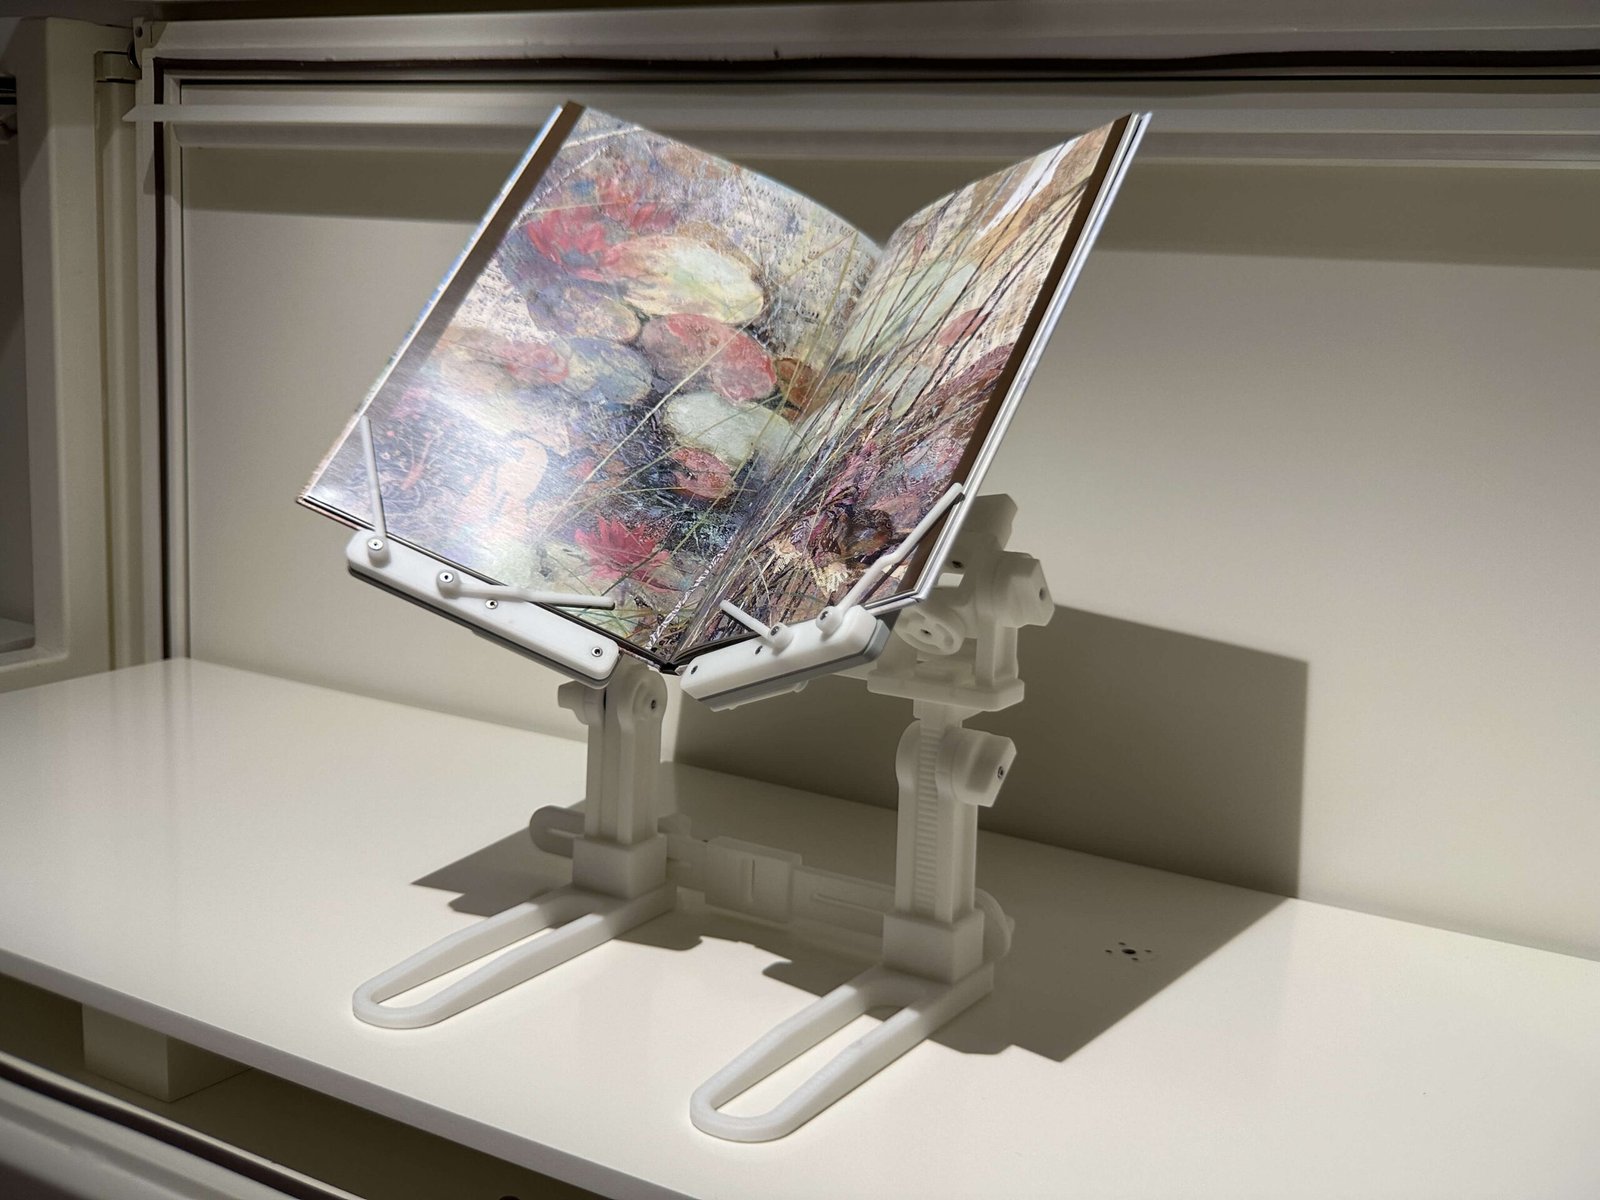
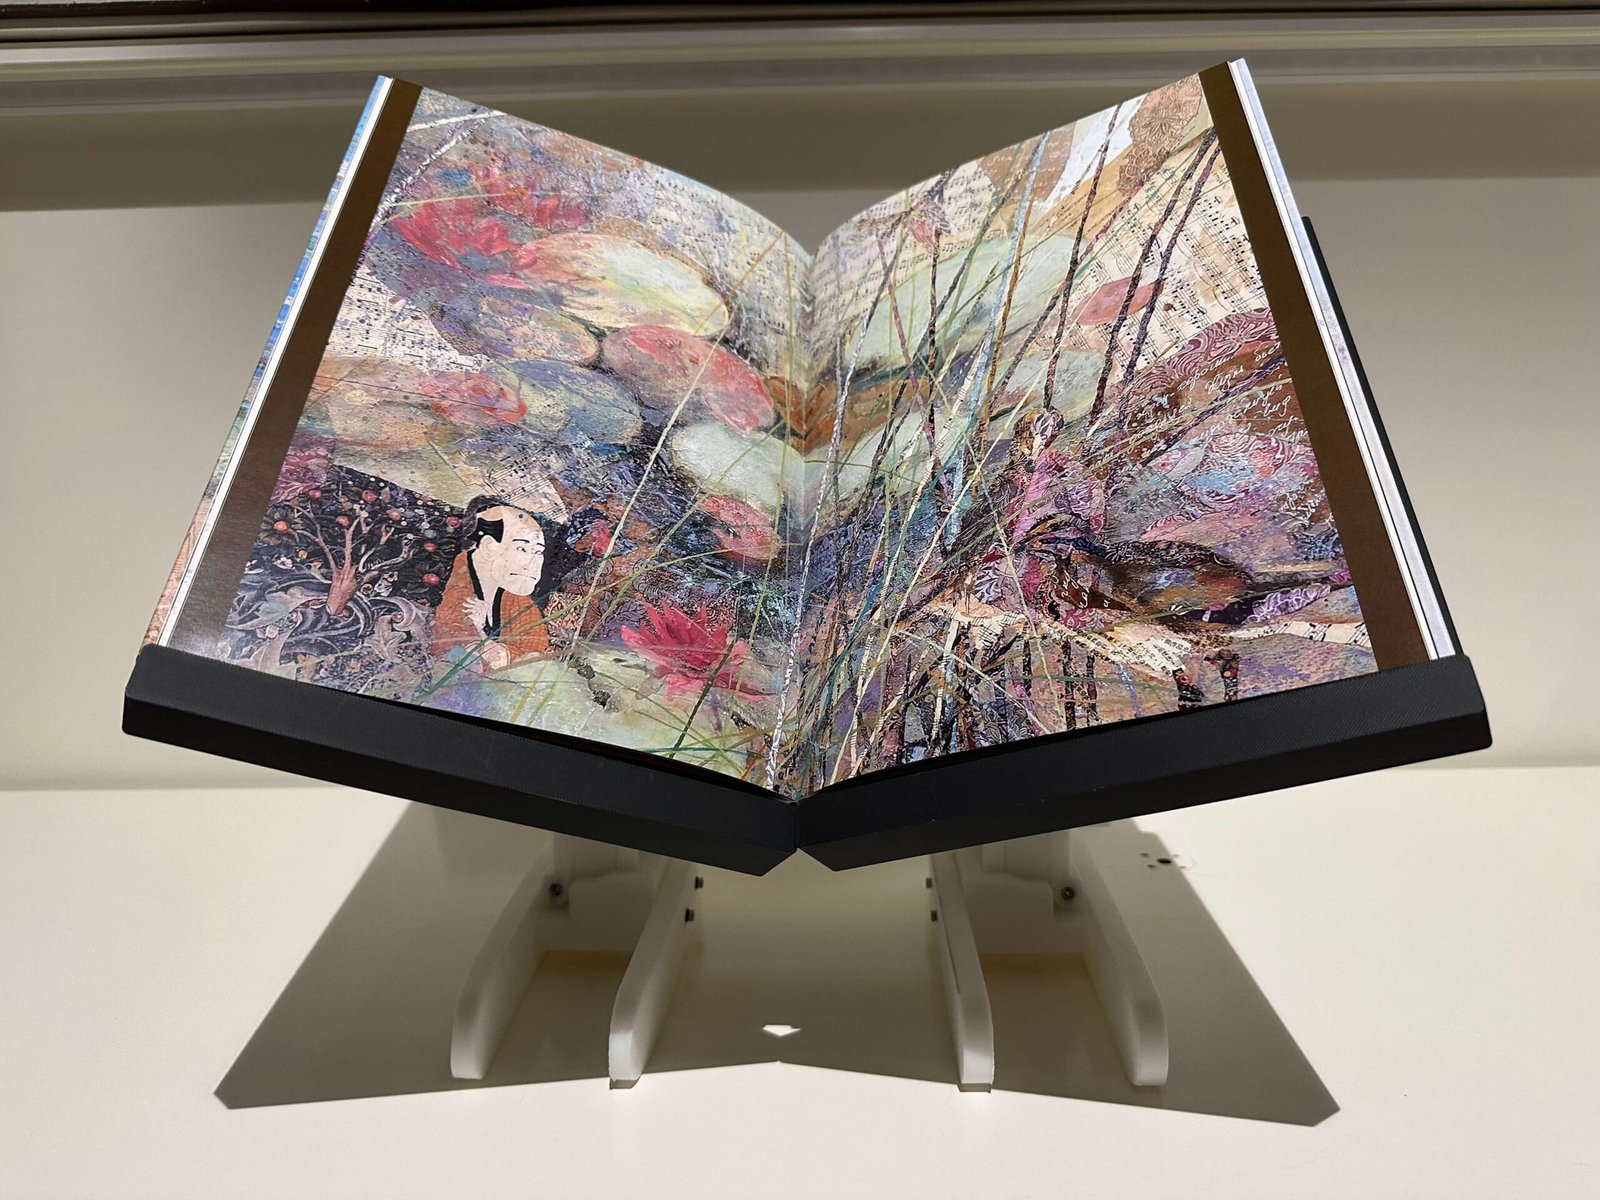
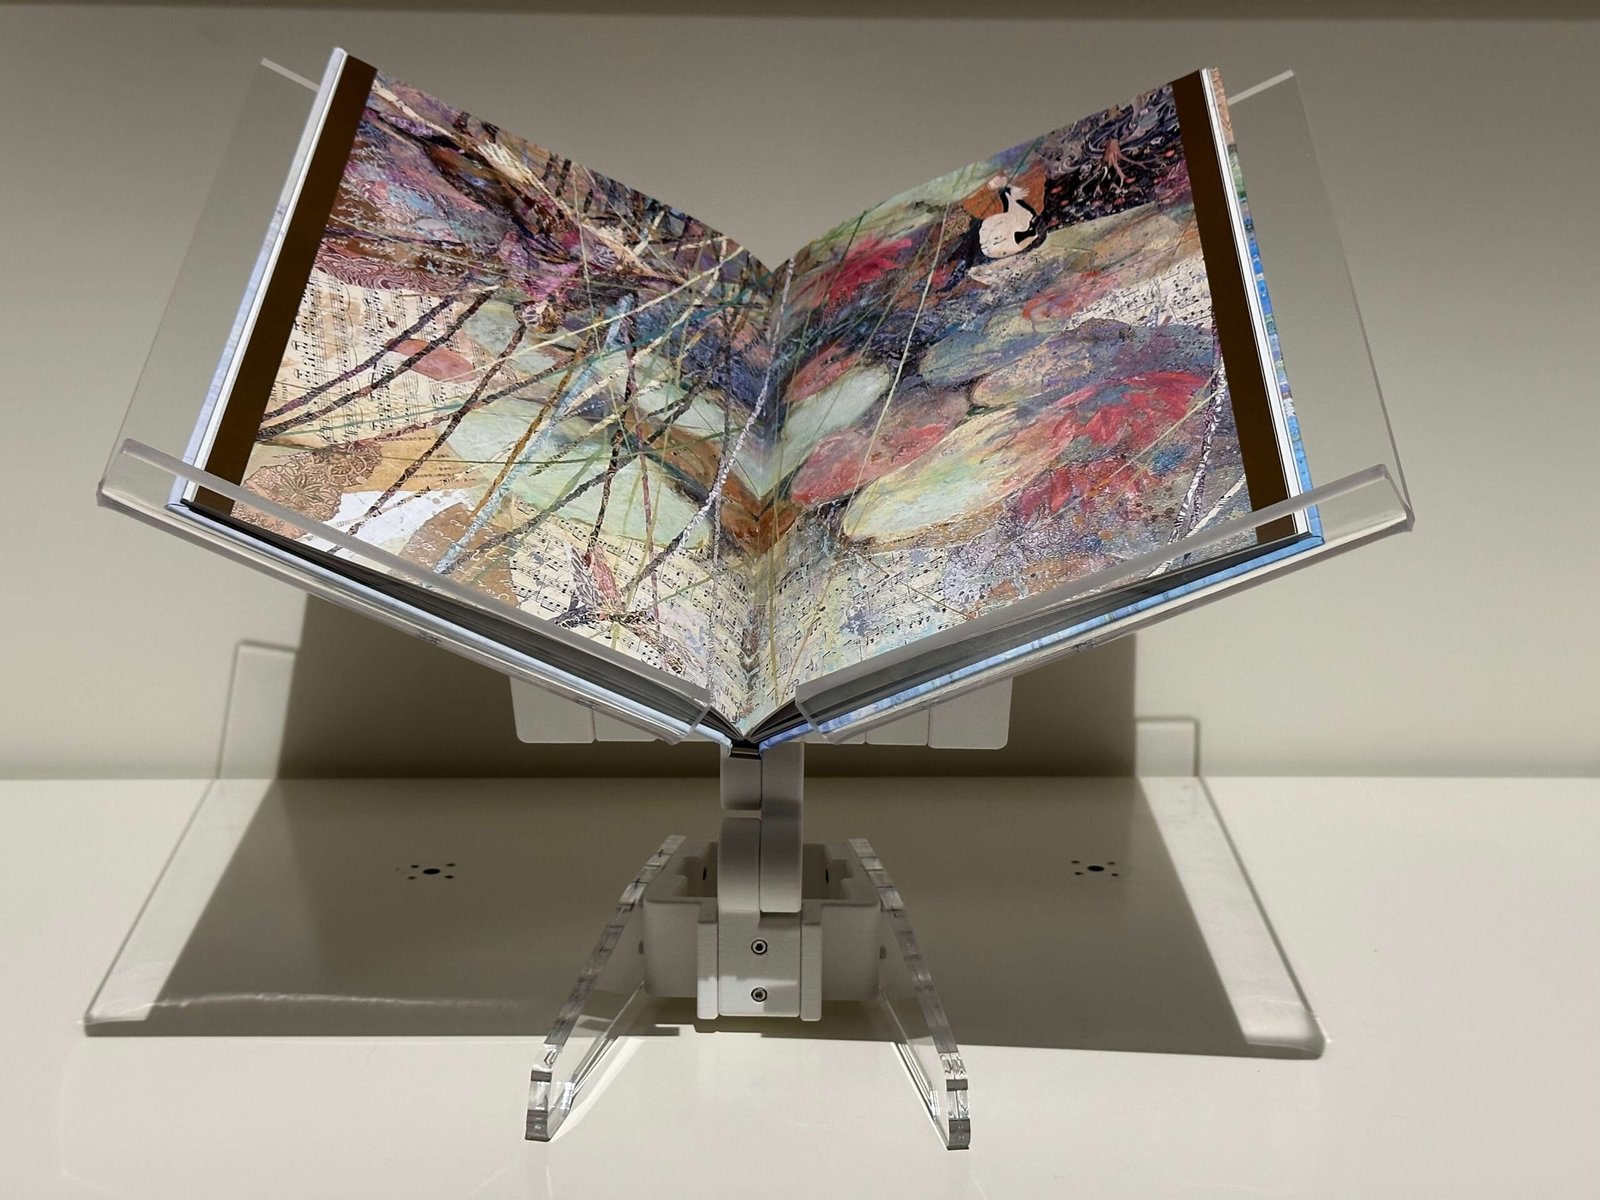
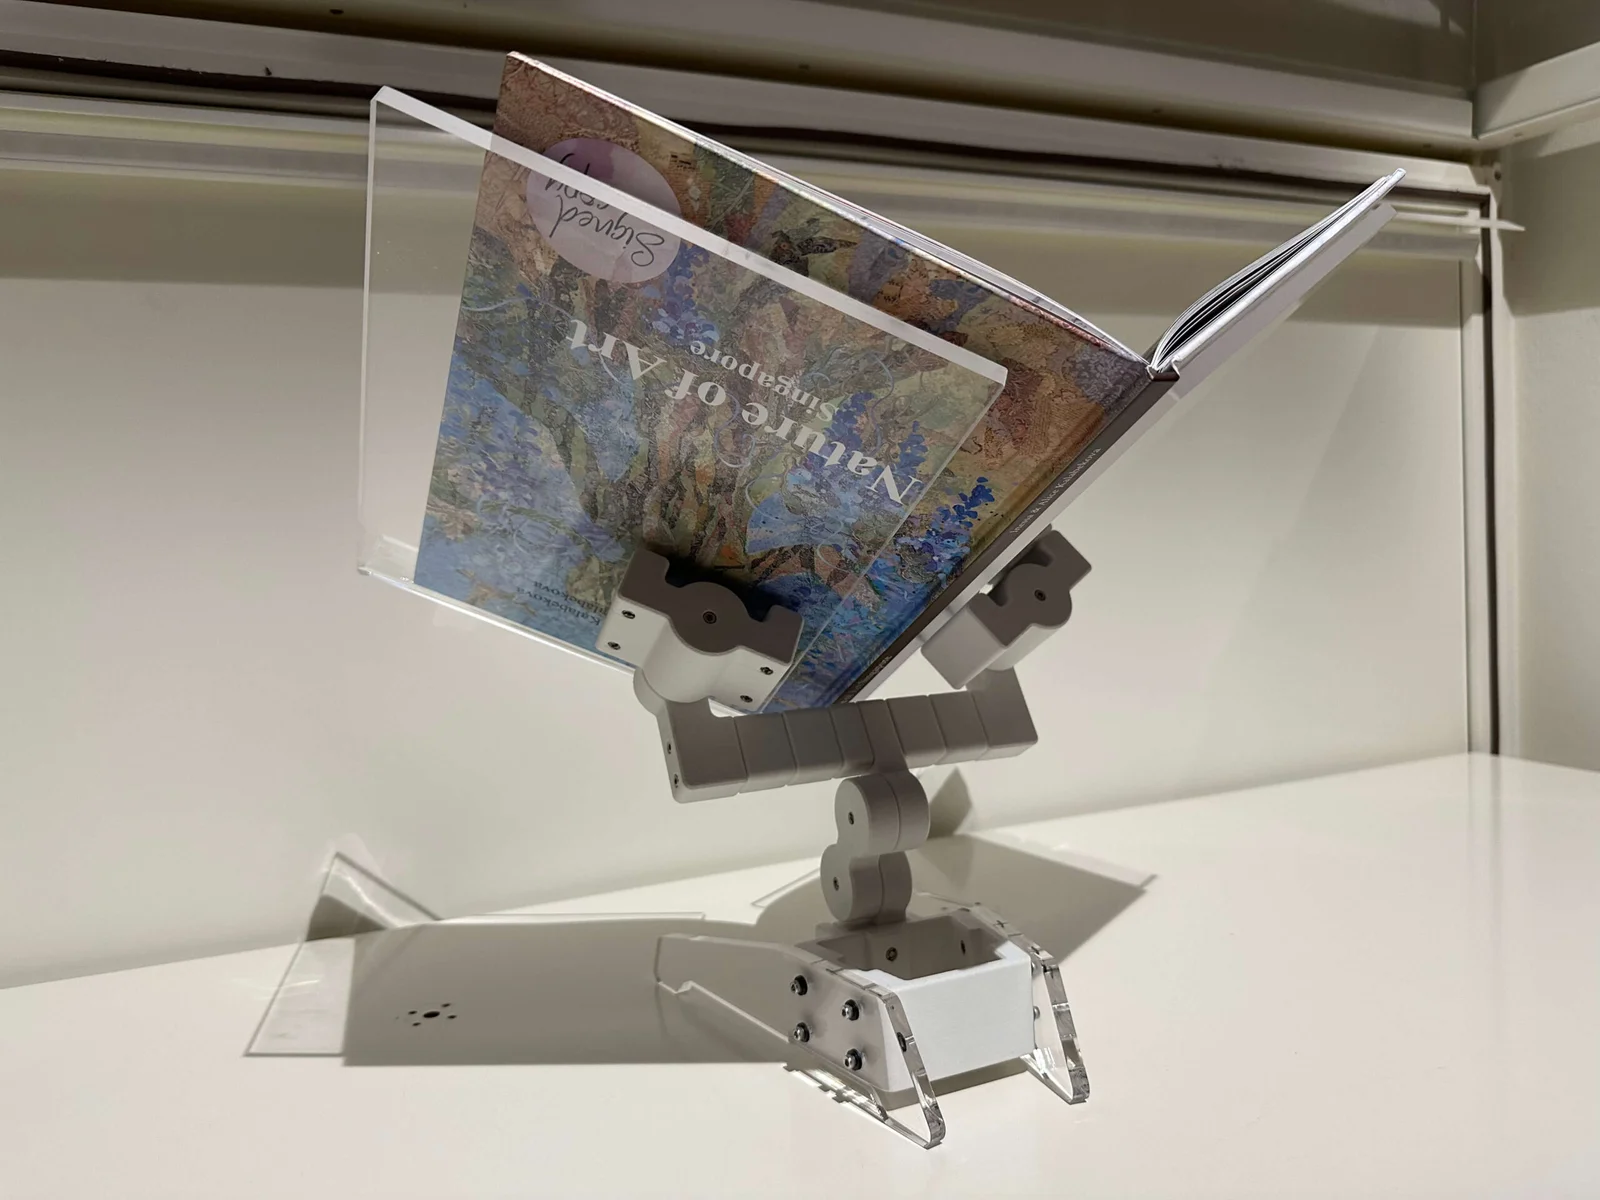
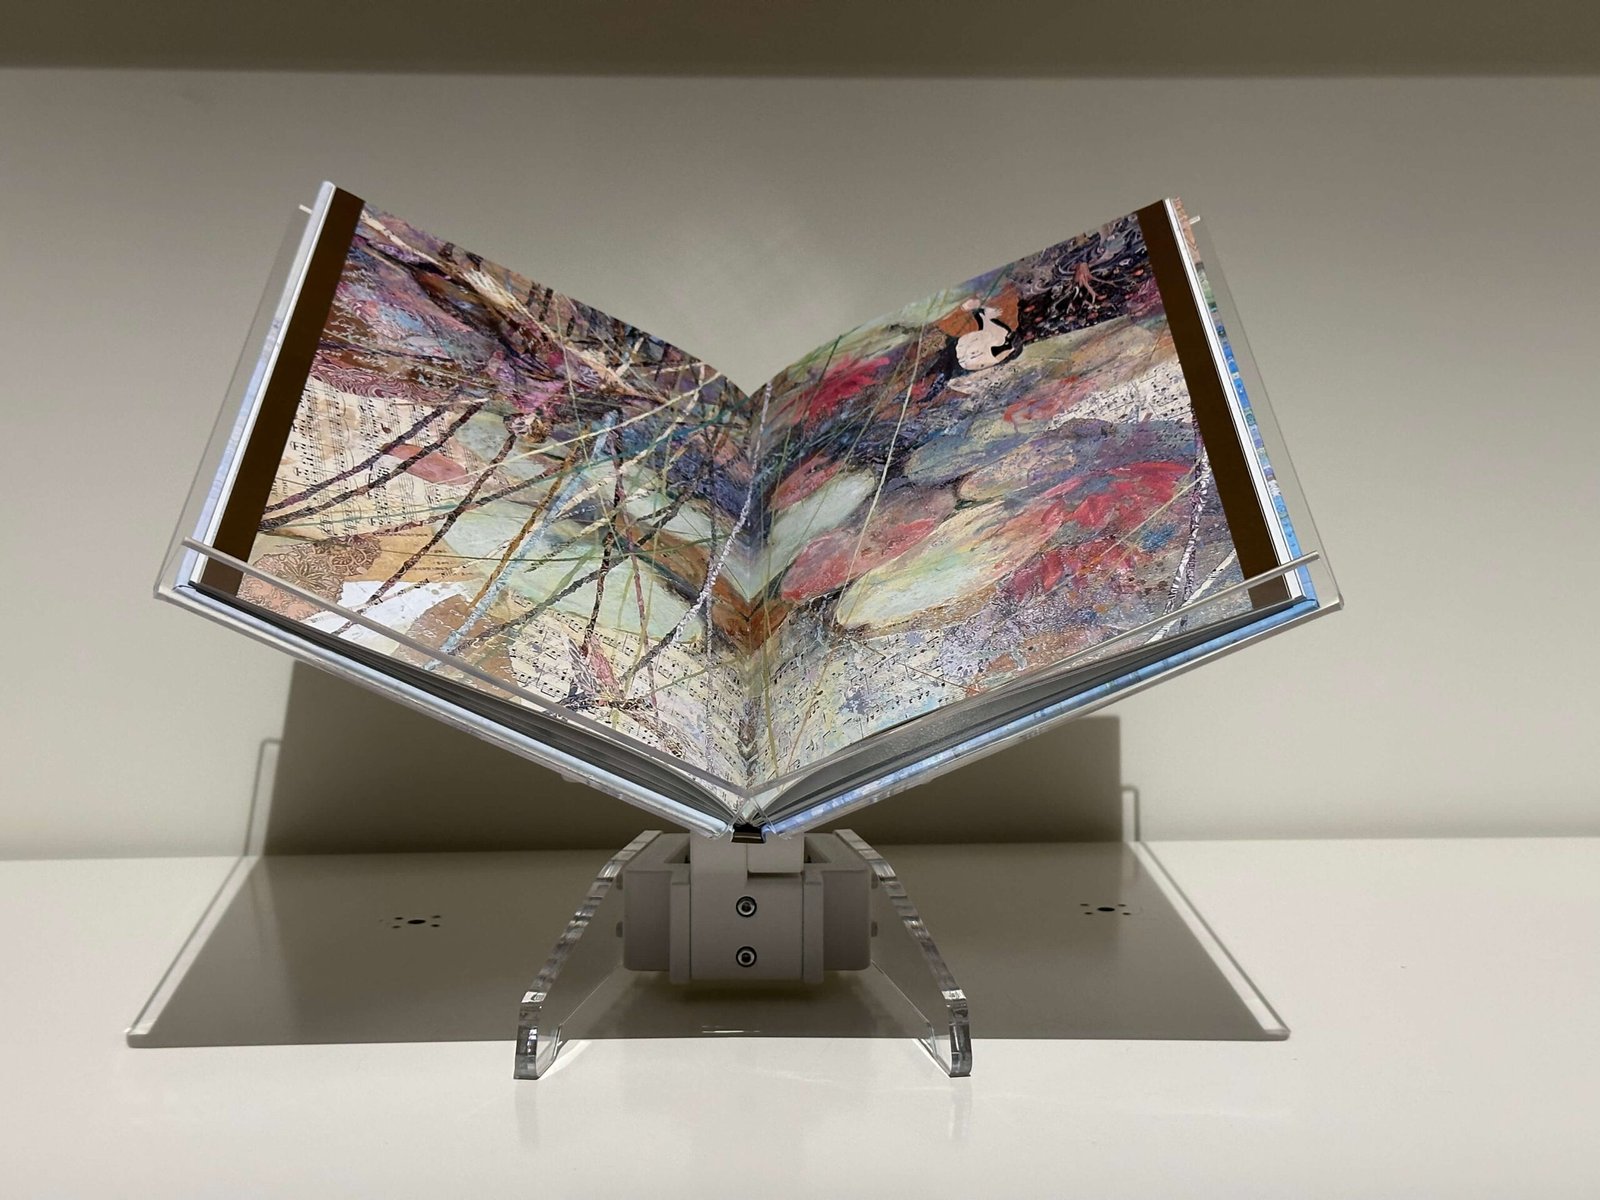
Book Cradle And Attachment
This cradle is adjustable to fit various book sizes, ranging from B4 to A3. The attachments are made of acrylic, and users can customize the acrylic to suit their preferred size.
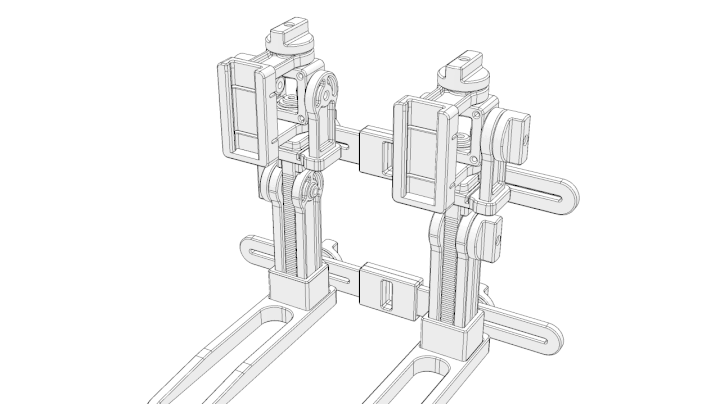
Variable Width Sliders
This mechanism can be adjusted to accommodate different book sizes, allowing users to customize the position for optimal support and stability. The adjustment ensures that the bookstand can securely hold books of various dimensions.

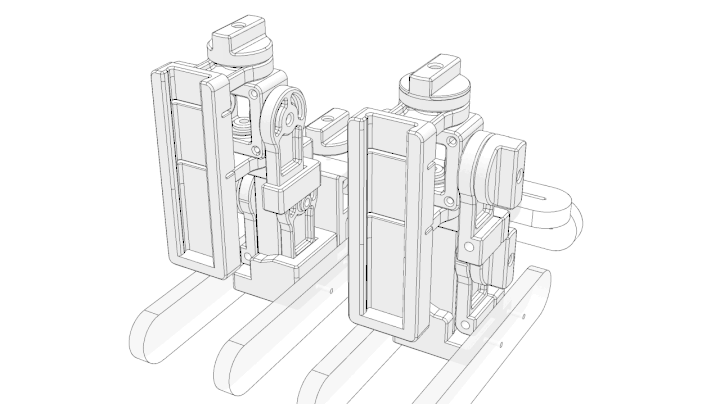
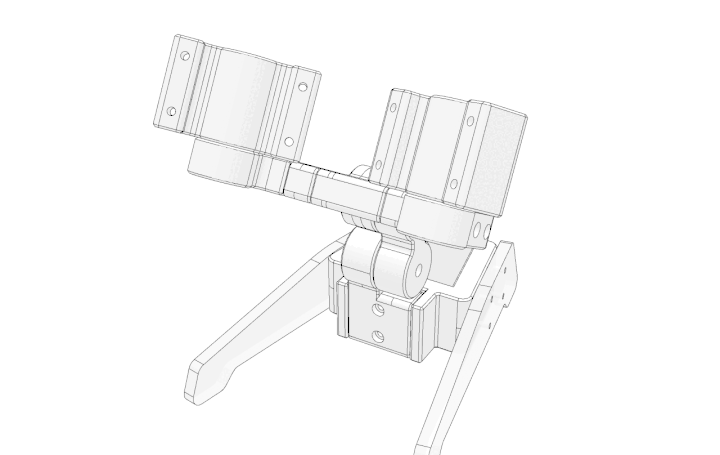
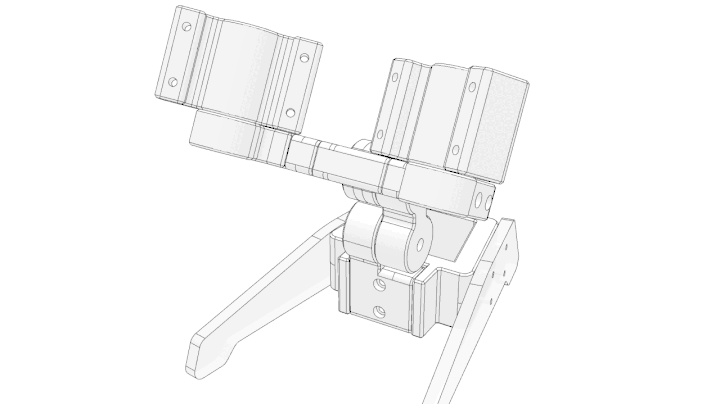
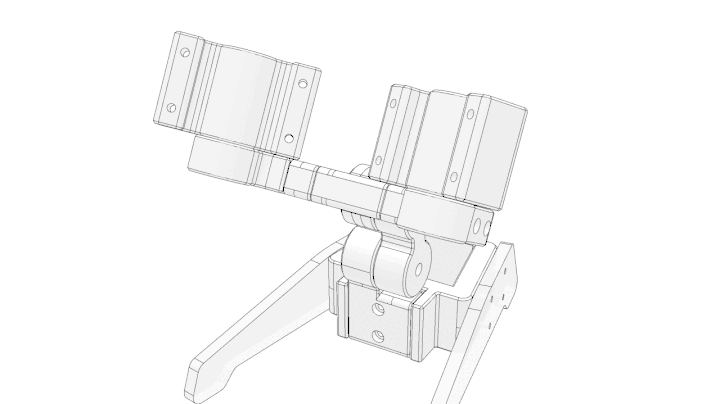
Swivel Mechanism One
The feedback regarding this mechanism highlights that it is perceived as too bulky. The goal is to reduce the size of the mechanism, ensuring it retains its functionality while minimizing its volumetric footprint.

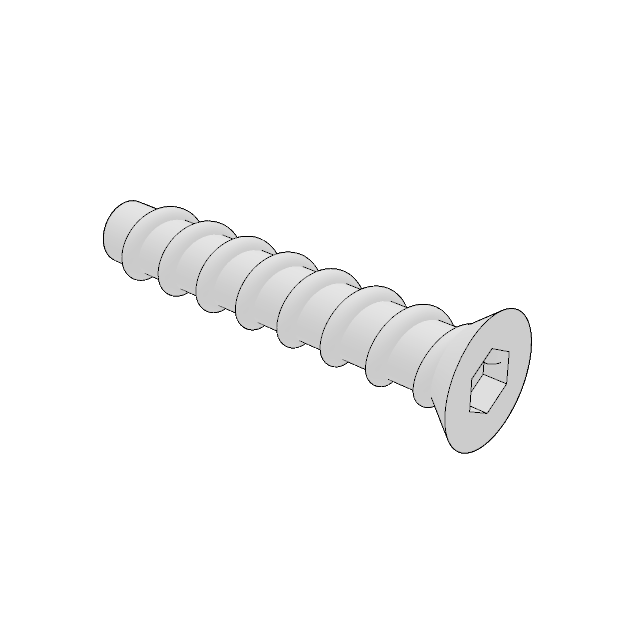
Tightening & Loosening Knob
The feedback regarding this feature indicates that while it is functional, its bulkiness is a concern. This added bulk extends to other components as well. A potential improvement would be to replace the current knob with a bolt mechanism that allows for tightening and loosening, thereby reducing the overall size and enhancing efficiency.
Swivel Mechanism Two
The feedback regarding this mechanism highlights that it is perceived as too bulky. The goal is to reduce the size of the mechanism, ensuring it retains its functionality while minimizing its volumetric footprint.
Variable Height Mechanism
The feedback for this feature suggests that setting a specific height for the mechanism could allow it to be removed, thereby reducing the volumetric footprint of the design.
Book Cradle And Attachment
The feedback for this feature acknowledges its value, but notes that its bulky design contributes to an overall oversized appearance of the book cradle. A more streamlined design for this feature is recommended to enhance both the functionality and the overall compactness of the cradle.
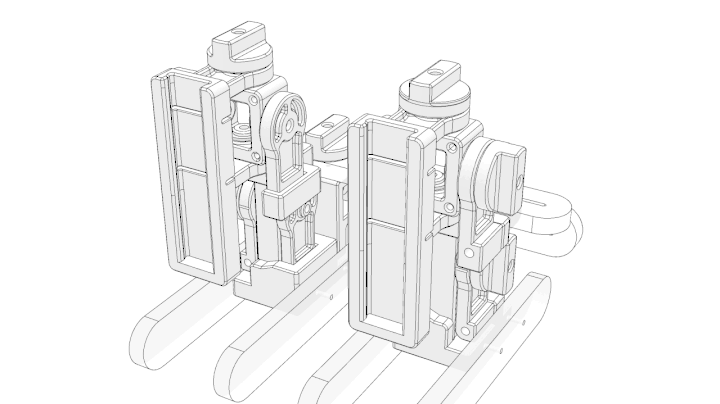
Variable Width Sliders
The feedback for this feature suggests exploring options to anchor it to a fixed size. It is recommended to use brass or flat materials to provide quick and durable protection, rather than repeatedly reprinting parts to accommodate varying book sizes.

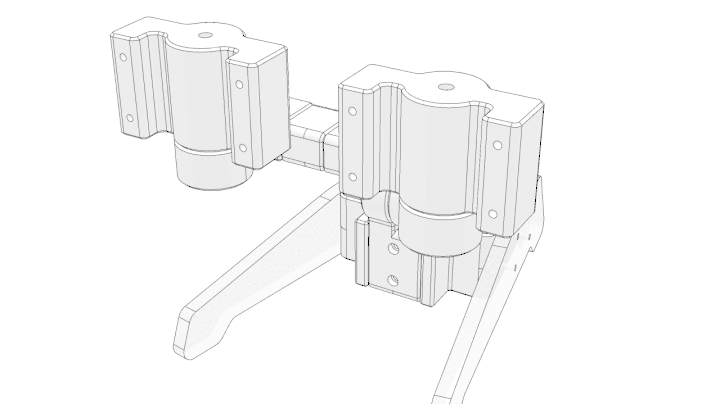
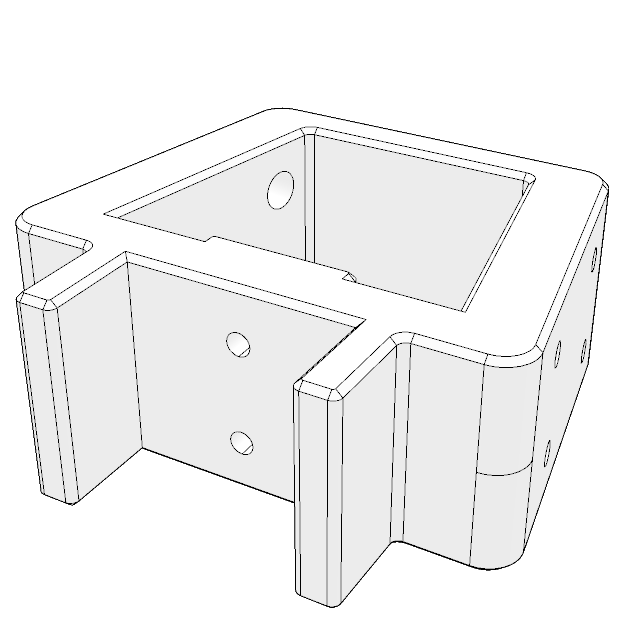
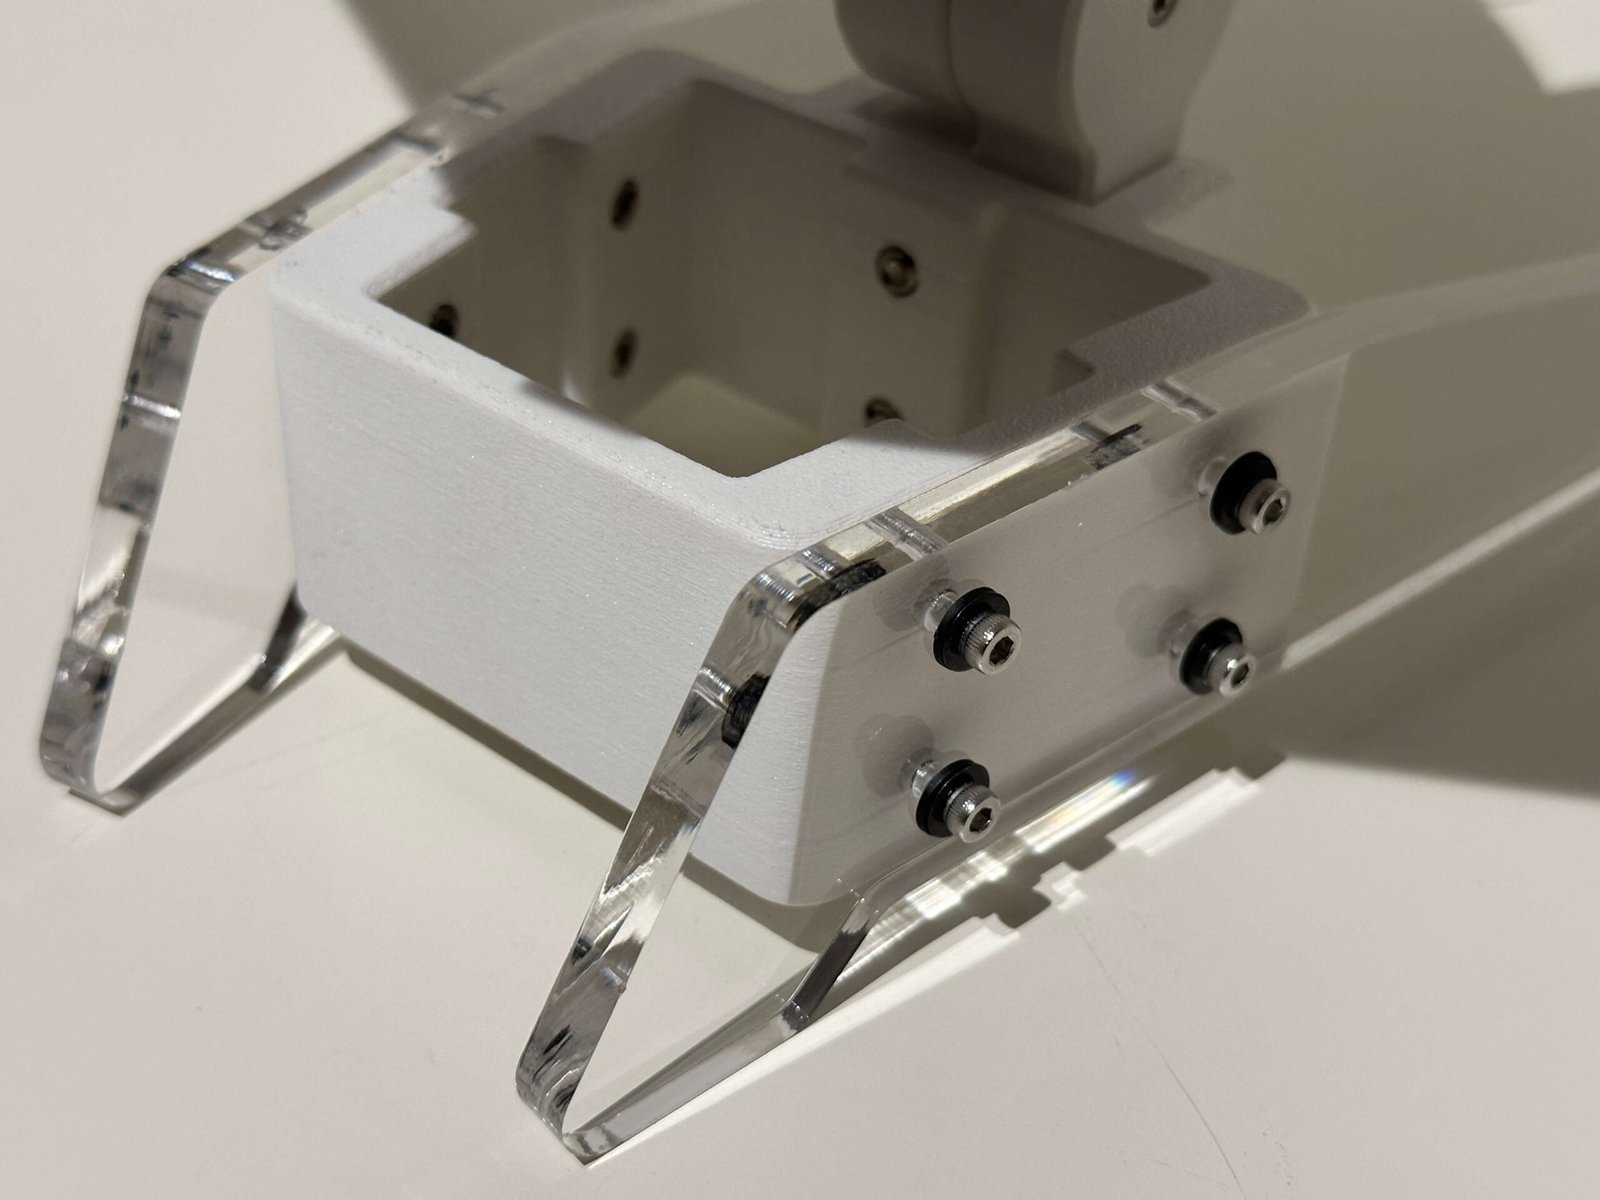
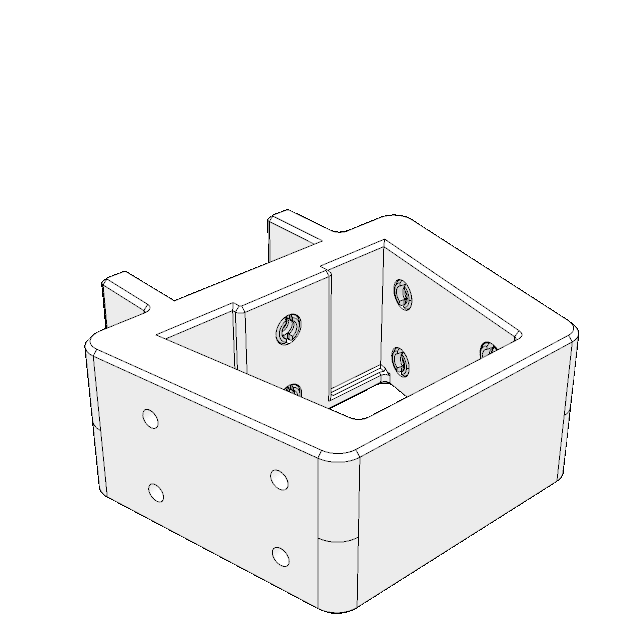
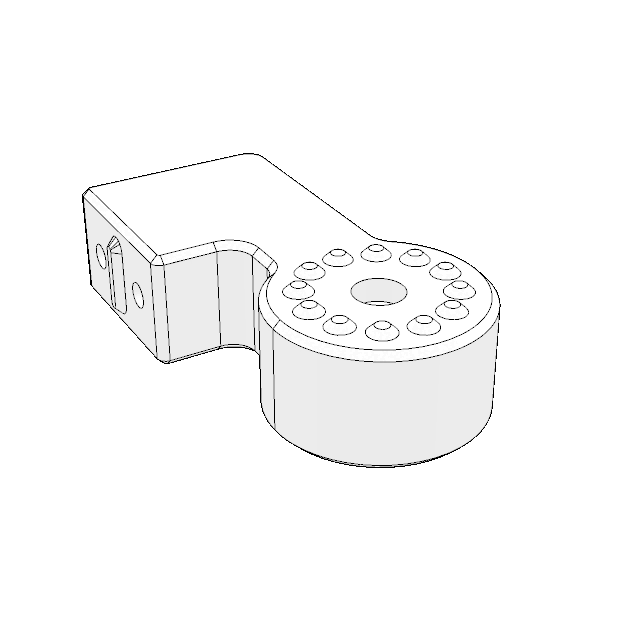
Book Cradle Attachment
In this version of the cradle, the design has been streamlined to be more compact. It now only requires four bolts to securely attach the acrylic components to the base. This simplified assembly process reduces the overall size and improves ease of installation.
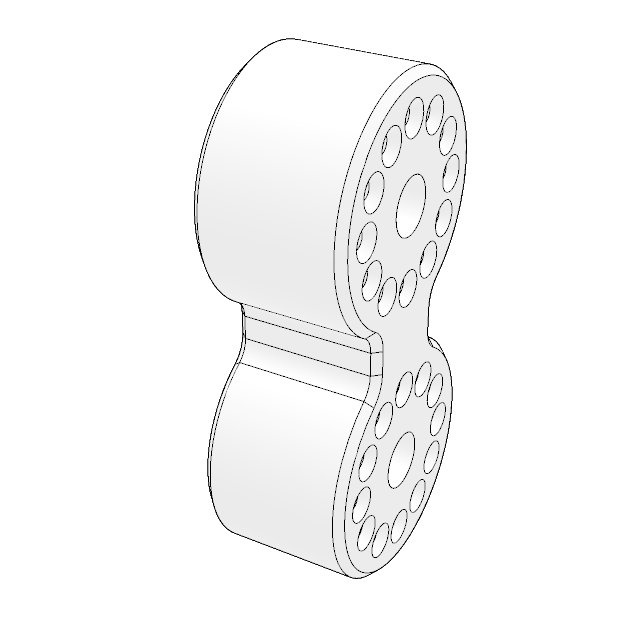
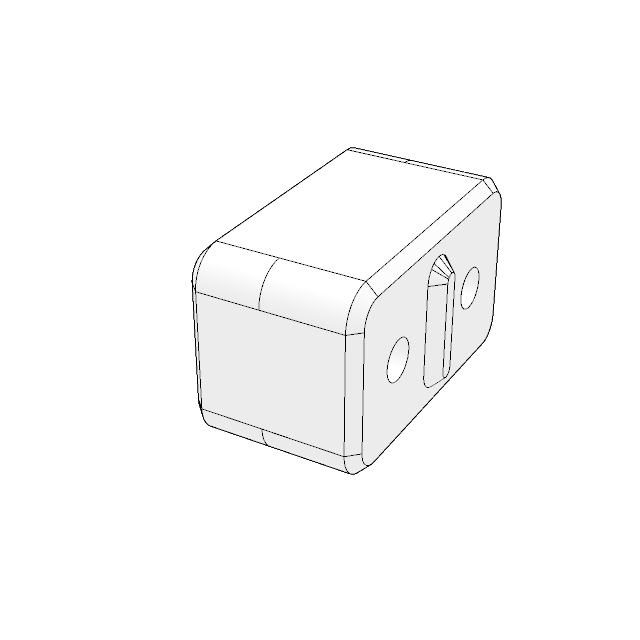
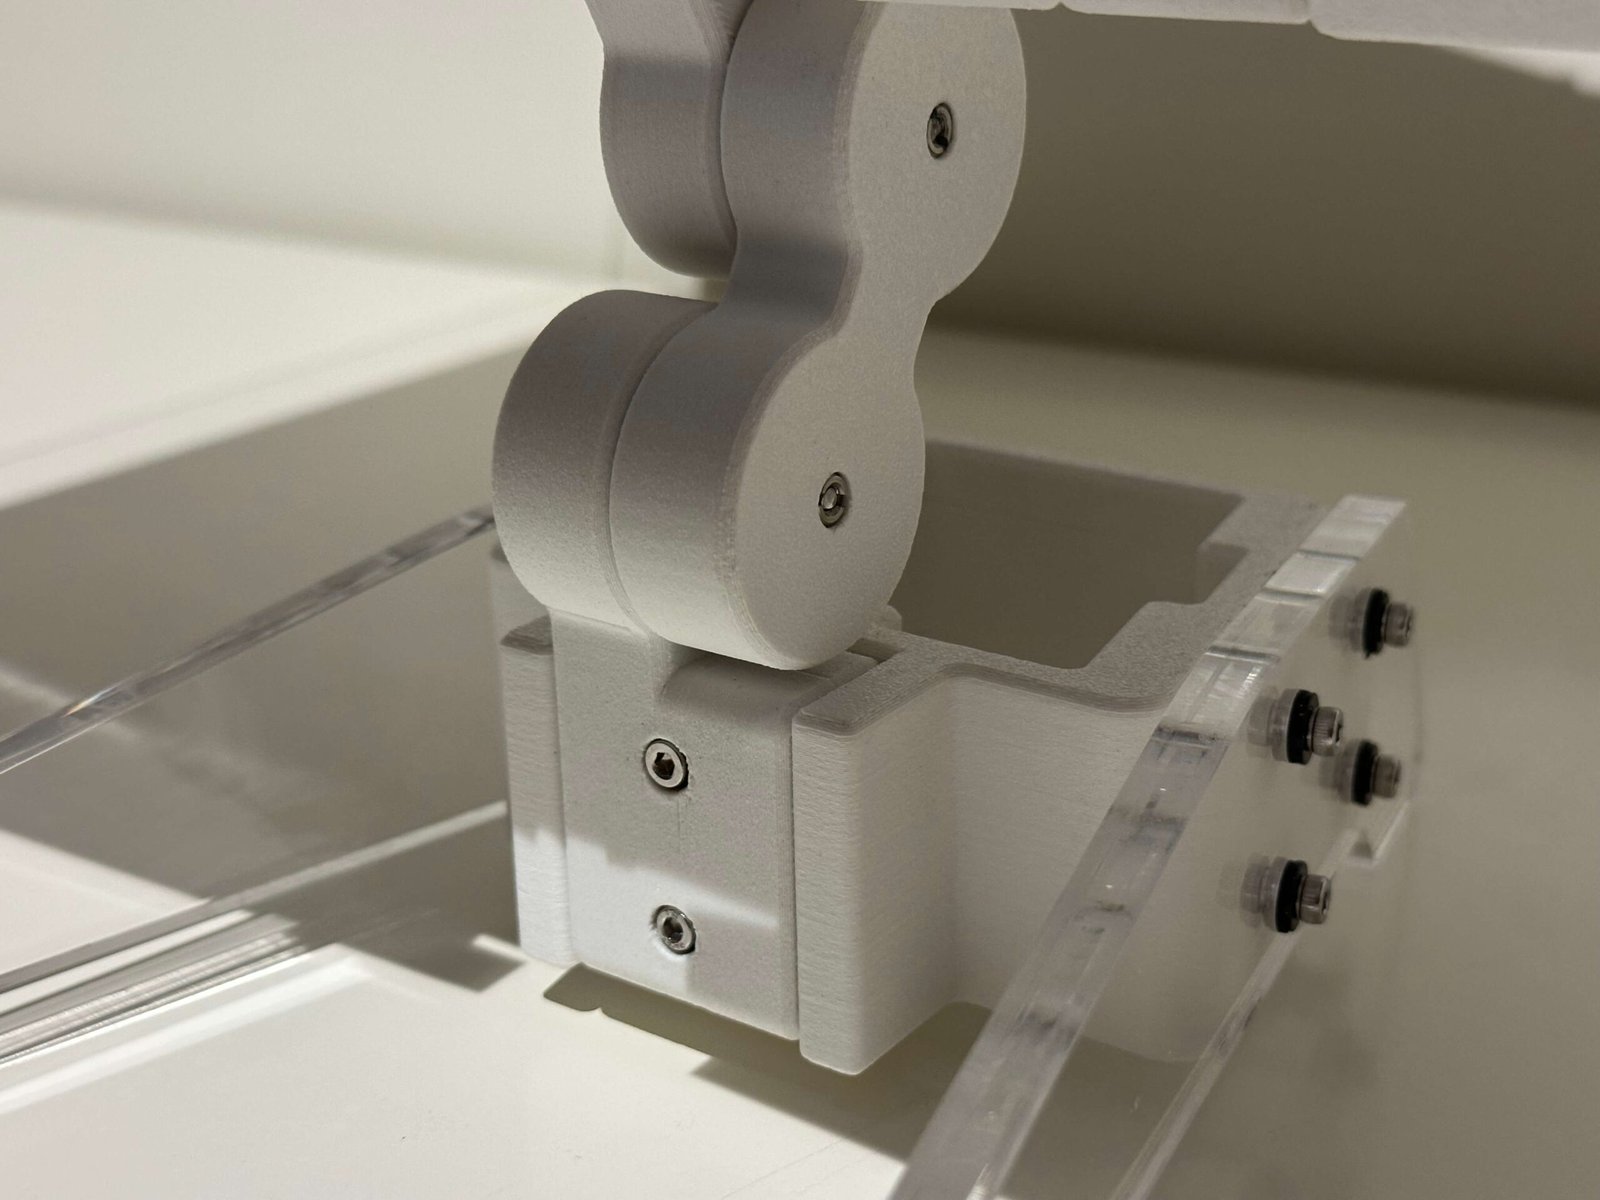
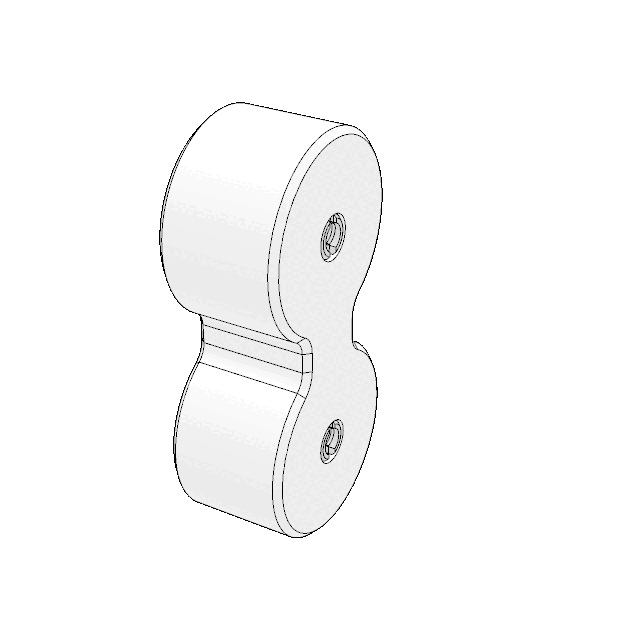
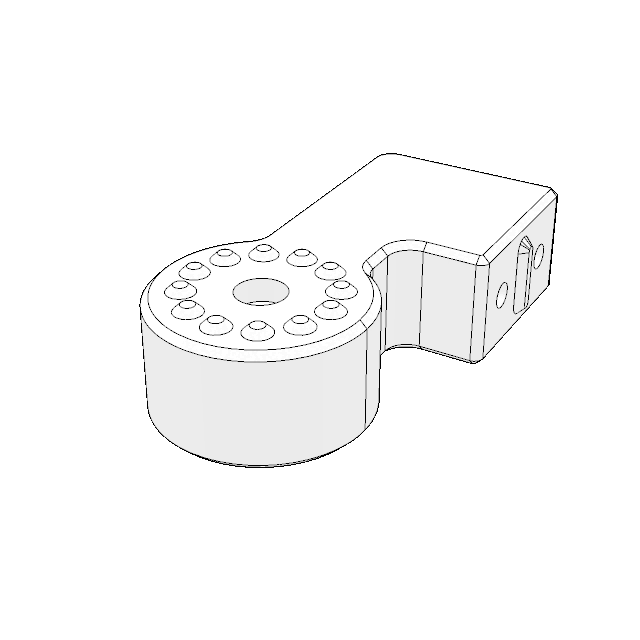
Rotating Attachment Mechanism
In this final version, the feature is designed to be highly compact, requiring only four attachment points to secure the book cradle. To adjust the feature, tighten or loosen the bolts at the center of the axis rotation to modify the angle of the cradle. The mechanism allows for 360-degree rotation, with a total of 12 steps, offering a 30-degree increment for each step.
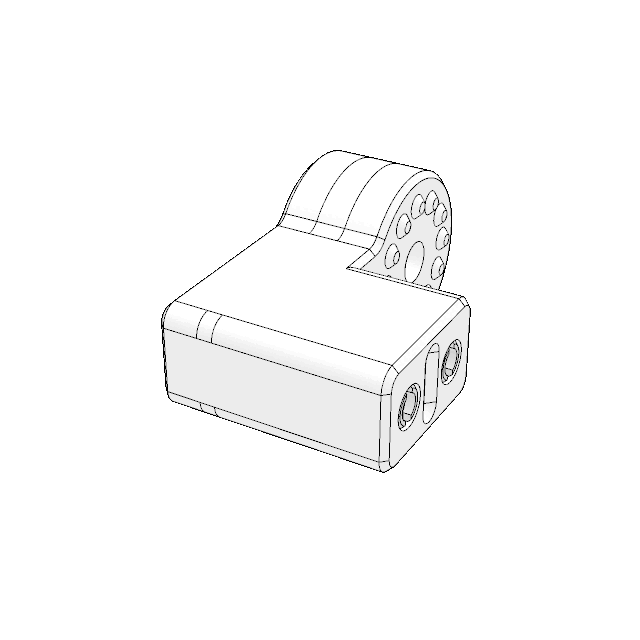
Variable Width Mechanism
In this design, the variable width feature no longer slides, as compared to the designs in previous versions. Instead, users can adjust the width by adding additional 3D-printed pieces to extend the cradle to the desired width.
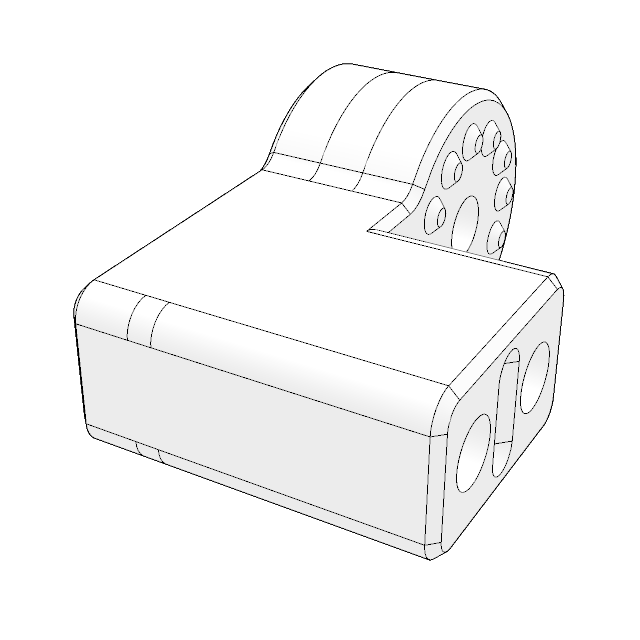
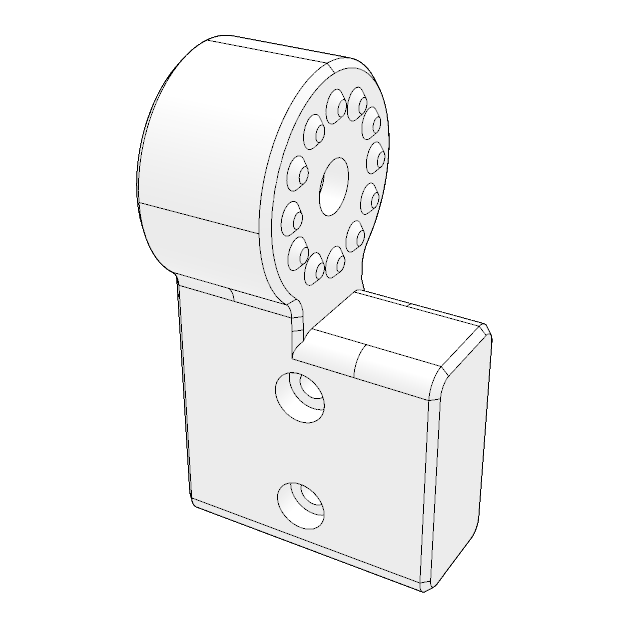
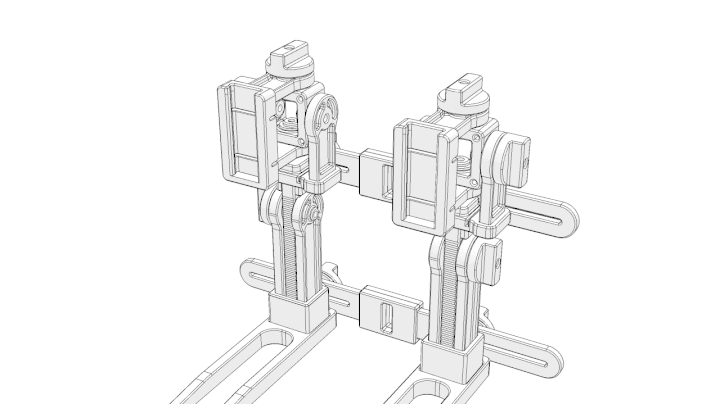
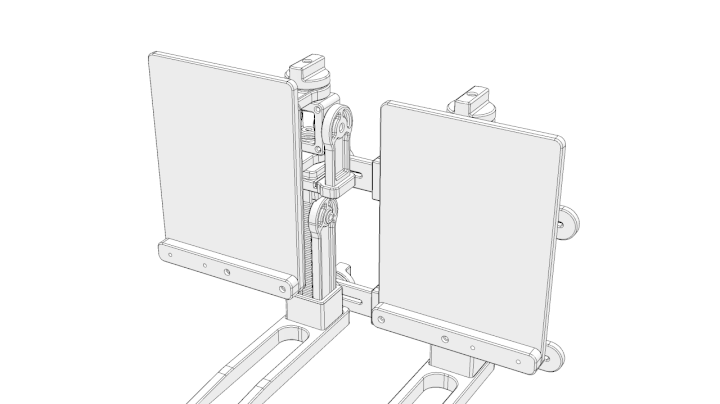
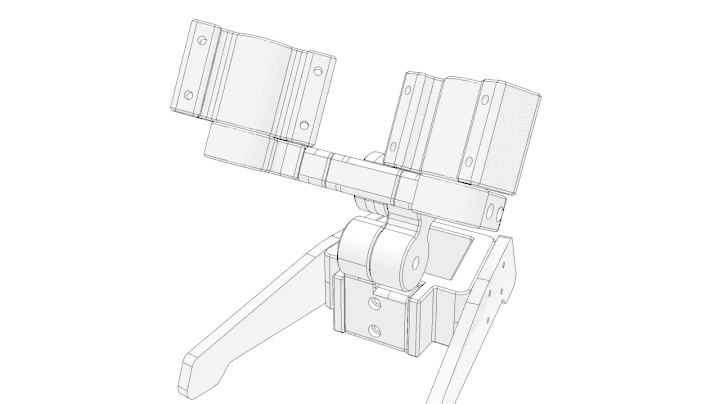
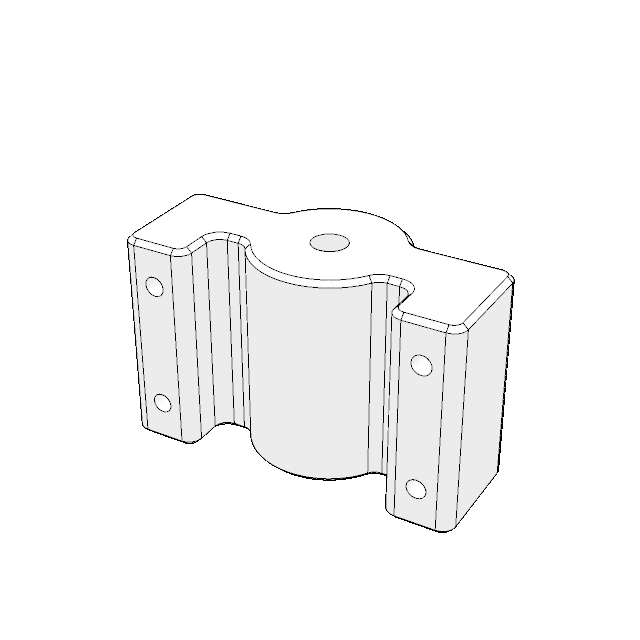
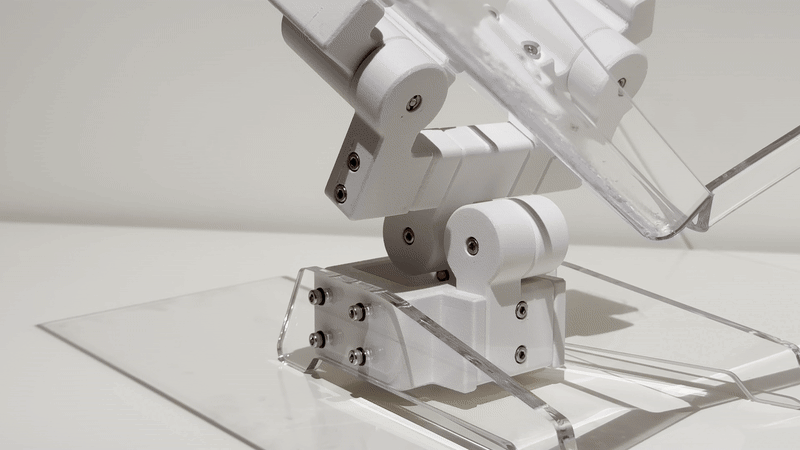
Dual Axis Mechanism
Based on previous feedback and iterations, this feature combines a primary rotating axis to adjust the angle of the book cradle, along with a secondary rotating axis, which also serves as the lever mechanism for finer adjustments. The lever mechanism allows users to shift the center of gravity relative to the main axis of rotation, providing greater control over the cradle’s positioning. Additionally, the secondary axis enables precise control over smaller details and angles, ensuring a more customizable experience for users.

Wall Attachment Mount
To mount the book cradle on the wall, the existing feature is removed, and the middle section is attached to two brass rods, which are then fixed to the wall.
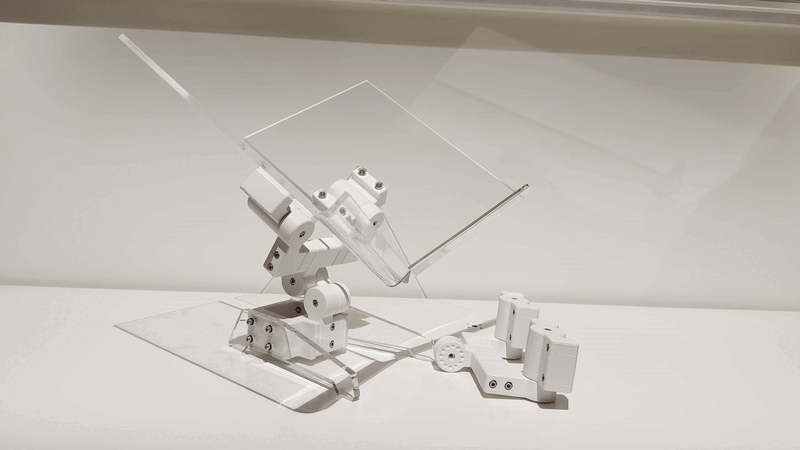
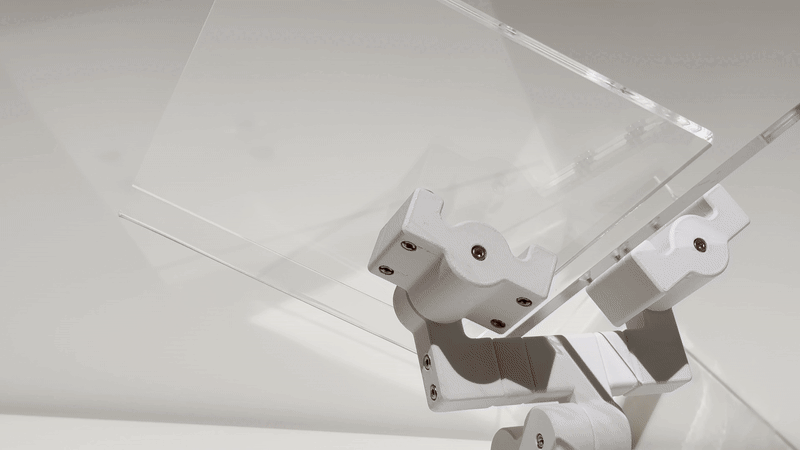
Acrylic Book Stand
This acrylic book stands can be replaced with a similar or taller version to increase the overall height of the stand. A key feature of this acrylic design is that it can be easily fabricated in-house using just a laser cutter. With no bends in the design, it simplifies the fabrication process.

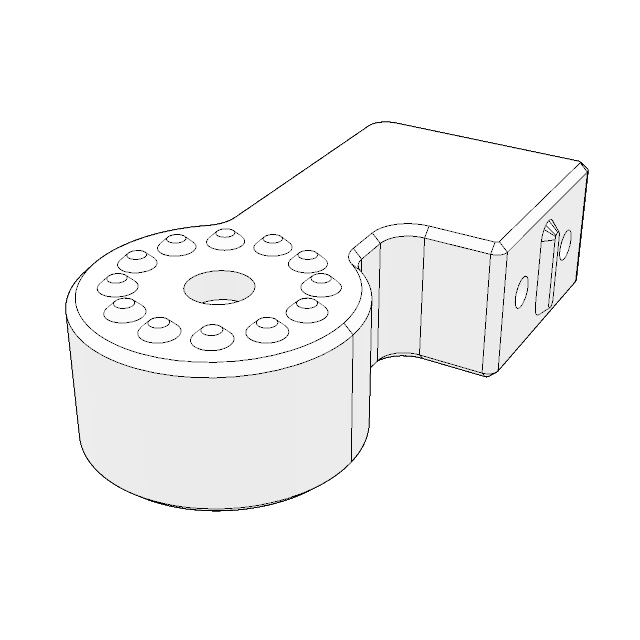
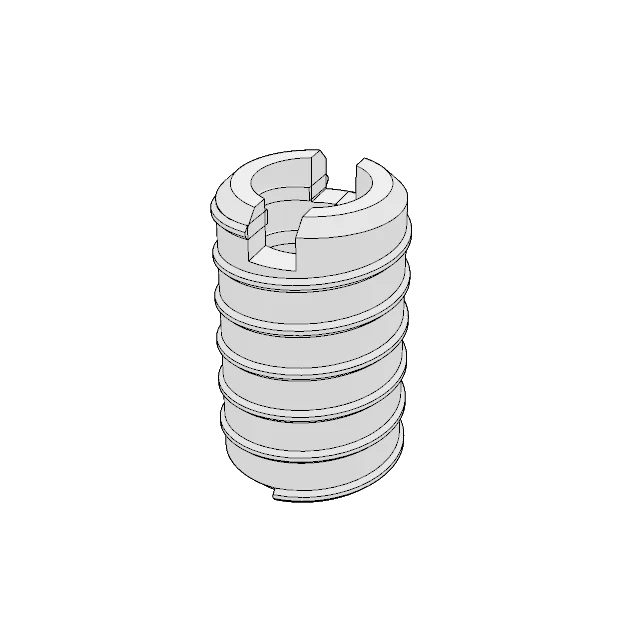
Book Cradle Attachment
In this updated cradle design, the acrylic thickness is reduced to 6mm, addressing feedback from version 3, where 8mm was too heavy and caused parts to shift downward. The design now uses sunken bolts instead of regular hex head bolts. Sunken bolts require less thickness, enabling a lighter structure. This reduction in both thickness and weight helps minimize the mechanical load on the cradle.
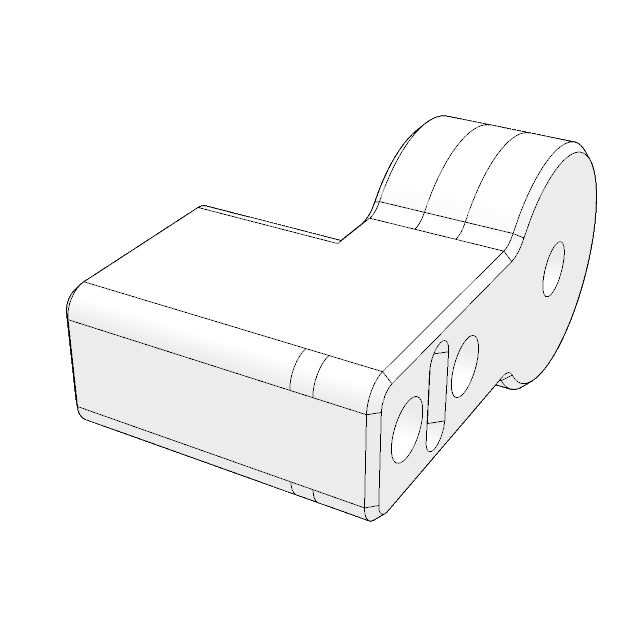
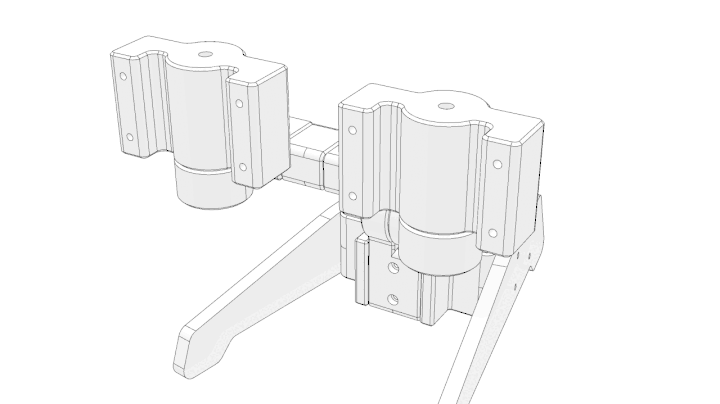
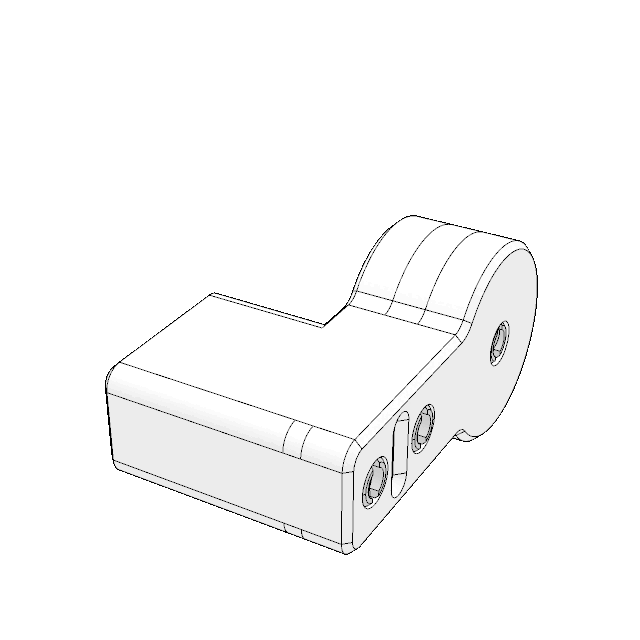
Rotating Attachment Mechanism
In this final version, the feature is designed to be assembled using M4 bolts instead of the previous M3 bolts. The M4 bolts provide a stronger grip for the rotating attachments, enhancing the mechanical stability without altering the outer dimensions of the design.
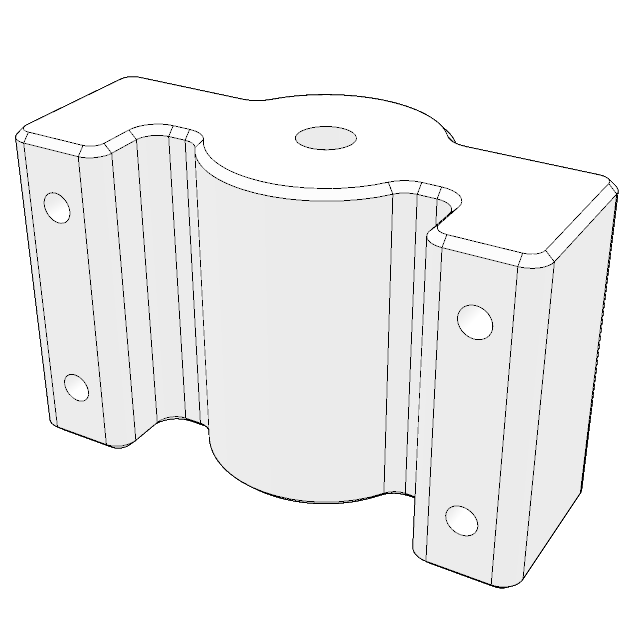
 Dual Axis Mechanism
The switch from M3 to M4 bolts has resulted in a significant improvement in this version. In version 3, the M3 bolts had less bite strength, causing misalignment of parts when load was applied. This misalignment propagated to other parts, leading to a shift in the overall design. While each step was intended to be 30 degrees, the misalignment caused a shift of 33-35 degrees, reducing mechanical accuracy and potentially impacting planning during curation.

Variable Width Mechanism
Similar to other parts, the M4 bolts have had a significant impact on these components, as they now maintain their positioning much more effectively compared to version 3. This improvement is also due to a new design feature that aligns the two parts together. With the addition of the M4 bolts, the design is securely held in place, ensuring greater stability and accuracy.
Acrylic Book Stand
This acrylic book stand can be replaced with a similar or taller version to increase the overall height of the stand. A key update in this feature is the use of M4 bolts, which have been implemented throughout the latest design for improved strength and stability.
Wall Attachment Mount
To mount the book cradle on the wall, the existing feature is removed, and the middle section is attached to two brass rods, which are then fixed to the wall.
Interchangeable Parts for Compactness
This new feature, introduced in the latest version, allows for a more compact design. In exhibition settings, where minimal visibility of the stand is desired, this feature enables the cradle to be interchanged with an alternate design, further reducing its form factor. It is particularly useful when books need to be positioned in a more upward-facing orientation.

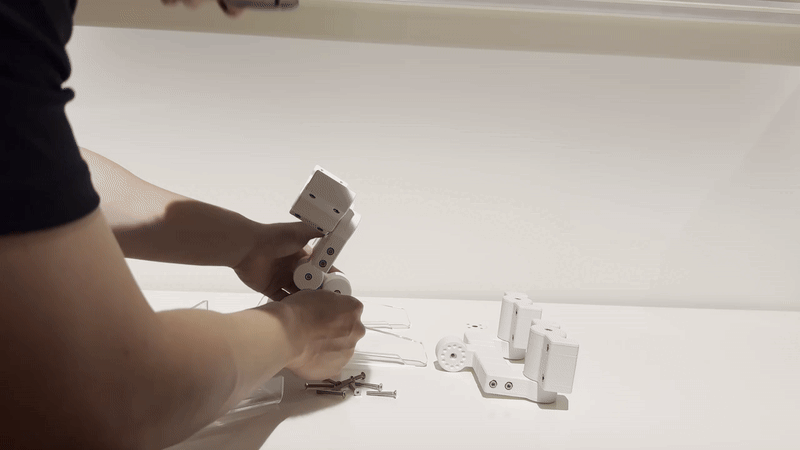
Completed Assembly (Step 01)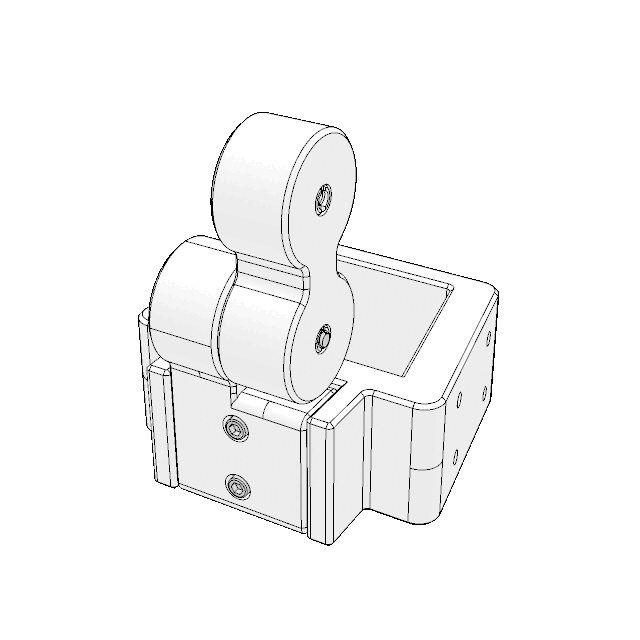

Completed Assembly (Step 02)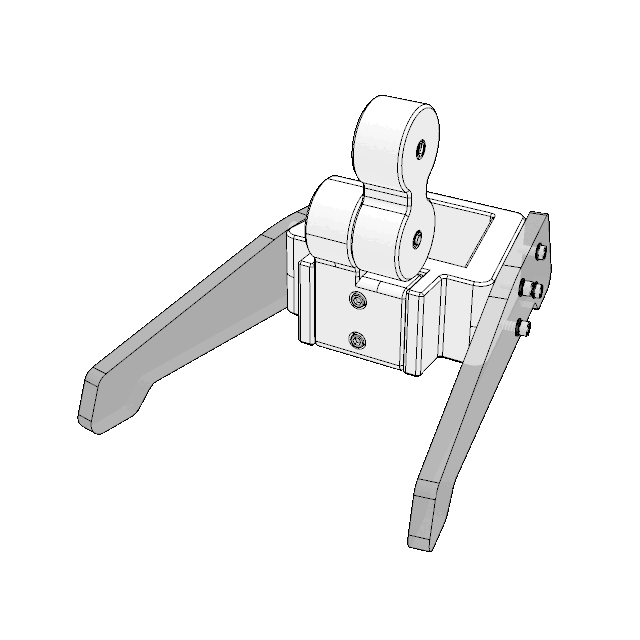

Completed Assembly (Step 03)

Completed Assembly (Step 04)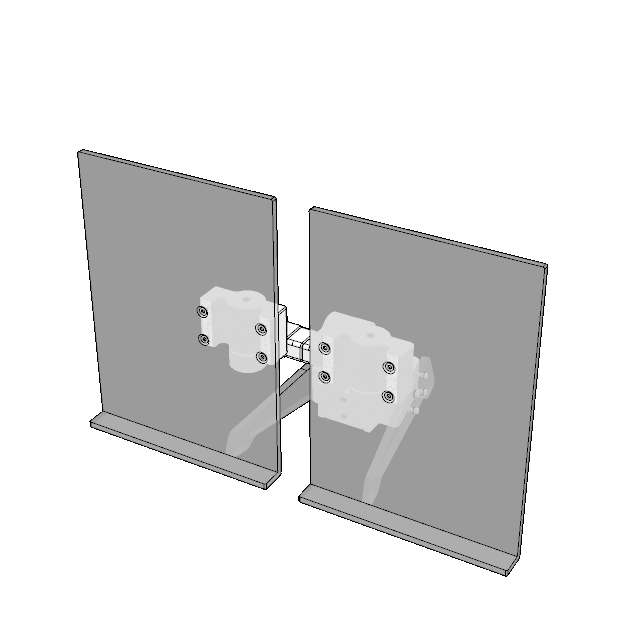

Completed Assembly (Iteration 02)
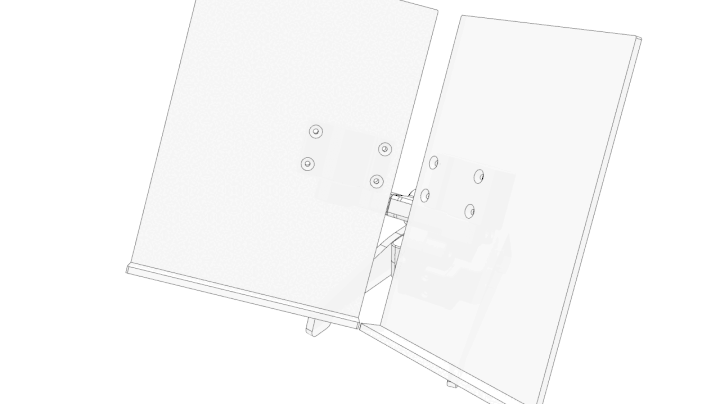
Attaching/Detaching the book cradle 
The cradle is designed to allow the production team to easily adjust its size. If a larger cradle is needed, they can laser-cut the required dimensions, bend the material accordingly, and attach it to the holder.
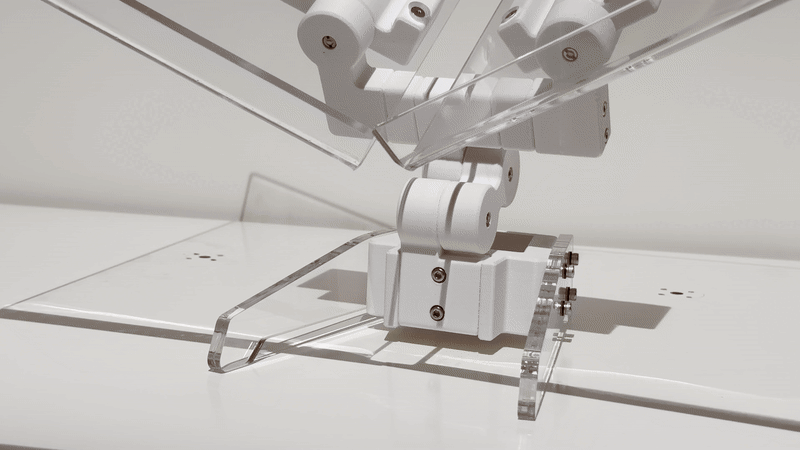
Changing the configuration
The configuration being referred to involves adjusting the rotatable joint that controls the tilt angle of the book cradle. The process described above illustrates how to transition from a stand with a high tilt angle to one with a lower tilt angle.
Attachment to wall
To convert the stand into a wall-mounted setup, first, remove the two screws from the base attachment points. However, the rods mounted on the wall must be installed first before securing the base in place.

Dual Swivel Mechanism
This feature allows the user to align the board at the center of the rotation mechanism and secure it in place. Once the desired angle is achieved, the user can tighten it to hold the position. The design includes two rotating mechanisms to provide additional degrees of rotation if required.
Cradle Swivel Mechanism
This feature enables the user to adjust the swivel angle of the book cradle for optimal positioning.